
Augmented reality is a term we’ve all heard of, but few developers are able to create immersive AR experiences — it often requires 3D design skills that are often missed in software development courses.
Thankfully, Apple’s Reality Composer makes it easy to build quick, immersive experiences without having experience with CAD and 3D modeling. While beginners can start with this tutorial, I strongly recommend checking out my previous tutorial for a more basic look at Reality Composer.
Adding Earth and the Moon
By now, you should have opened and created a Reality Composer project, and you’ll see a cube appear at the center of your canvas. Let’s remove the cube and move the Earth and the Moon to the center of the canvas instead.
Delete Boilerplate Objects
The first step, of course, is to remove the cube and any other boilerplate objects that Reality Composer has added for you. We’ll be starting afresh, so we don’t need these for our AR experience.
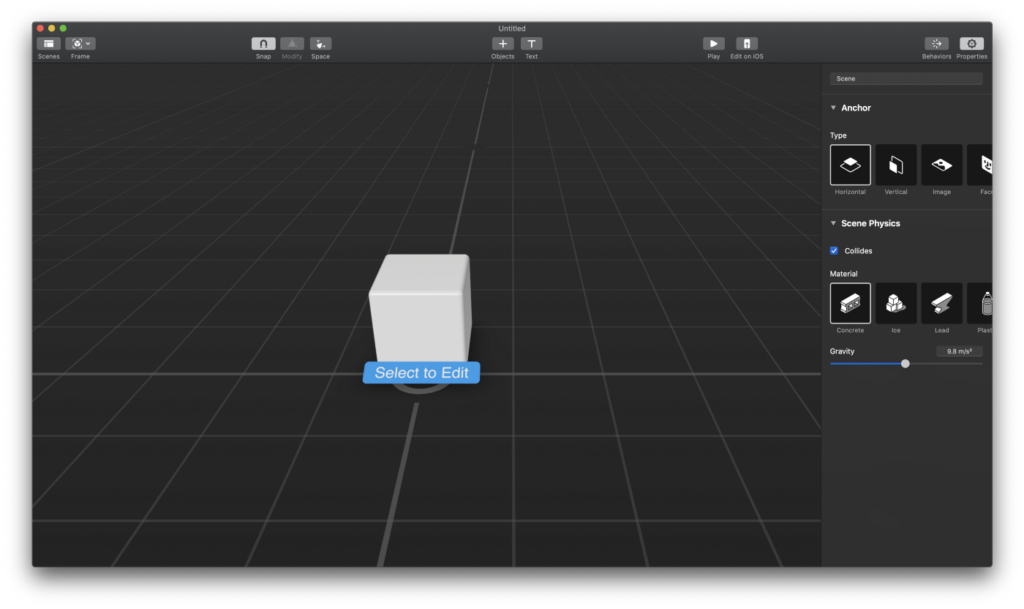
To ensure you’ve gotten rid of everything, use Command + A to select all the objects in the scene and hit Delete to remove them all. Now, you should see a blank canvas — you’re all set to add Earth!
Import USDZ Files
In the past, you would have had to create your own 3D model for Earth, but after the introduction of USDZ, many mainstream sources have adopted the technology. One of these is NASA, which provides planets in the USDZ file format for you to use out-of-the-box — how exciting!
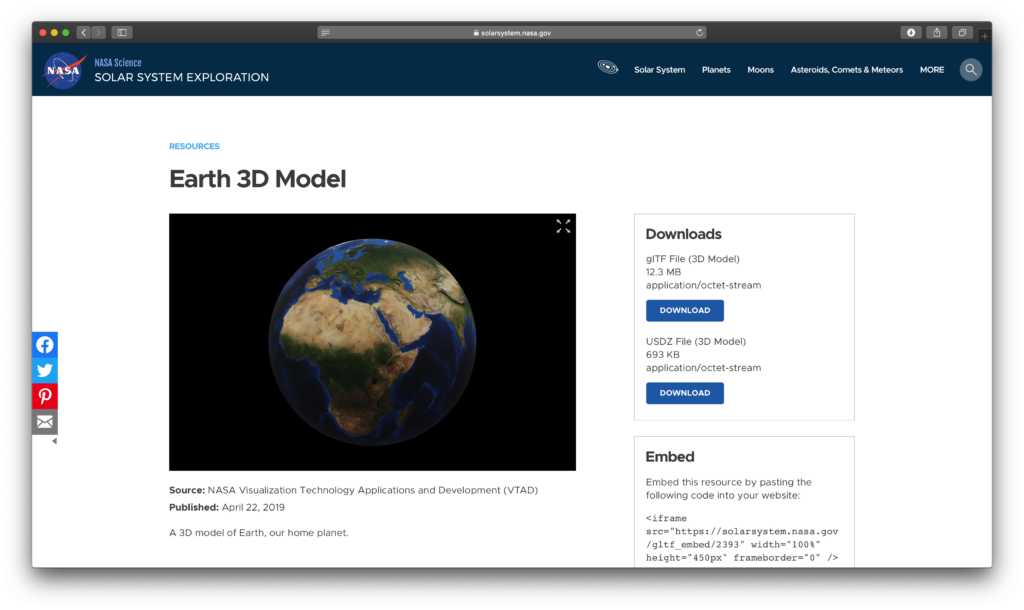
Go ahead and download the Earth model and Moon model from NASA’s website. If you’d like to explore them beforehand, you can rotate and scale them within the browser as well.
Insert Models into Reality Composer
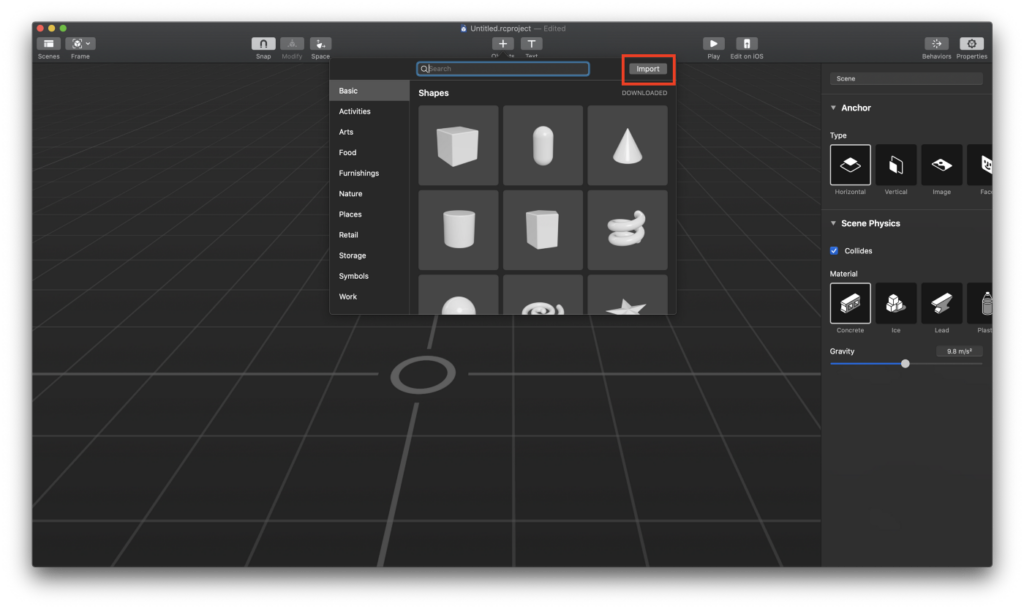
Since USDZ is Apple’s own 3D file format, Reality Composer includes excellent integration with USDZ files. This makes importing the models from NASA’s website quick and easy.
Once you’ve imported your images, you’ll need to zoom out a little bit to see the objects you’ve just added; they’re bigger than the scale of the canvas. When you zoom out, you’ll see something like this:
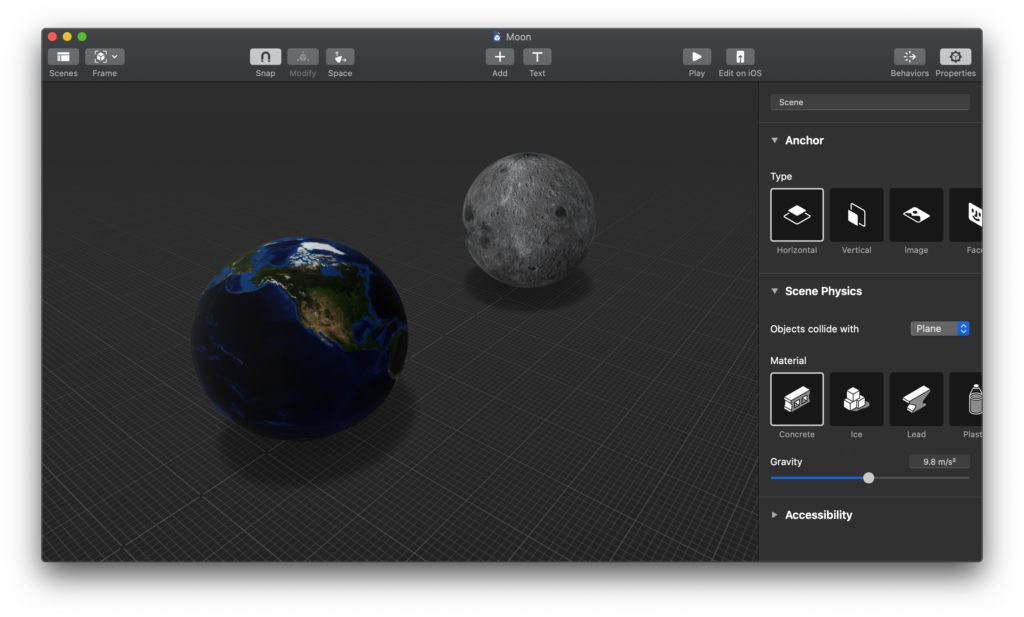
Great! You’ve now successfully downloaded and imported the two USDZ files into your Reality Composer project, and you’re ready for the next step — making them behave like actual planets.
Scaling and Positioning Objects
If you know anything about our solar system, you know that the Earth and the Moon are not the same size — in fact, the moon is just over a quarter of the Earth’s size! The goal in this tutorial is to make the scene as real as possible, so let’s change the scaling and positioning of the objects.
Shrink the Moon
The first order of business is to reduce the size of the moon to roughly a quarter of the size of the Earth. To do this, you can use the Scale property of the Moon. To reveal this property, click on the Moon to select it. Then, in the upper right, select the Properties pane, if it isn’t already open. Finally, reduce the Scale to 25%. Here’s how it’ll look when you’re done:
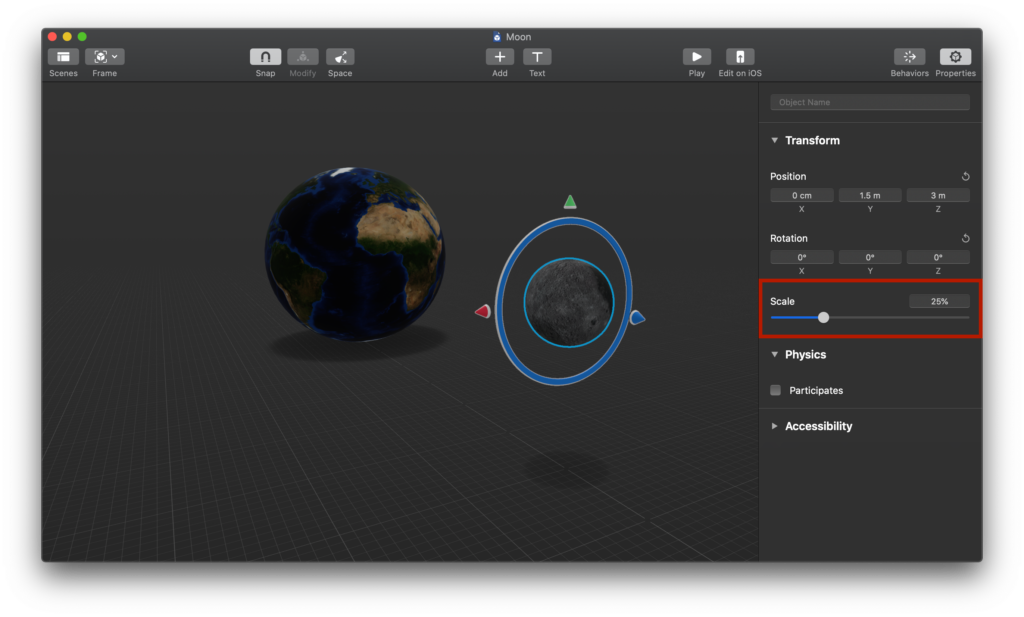
Keep in mind that this only works because the two objects are the same size to begin with. If the two objects had different sizes, it would be more difficult to make one of them one-fourth the size of the other.
Center the Earth
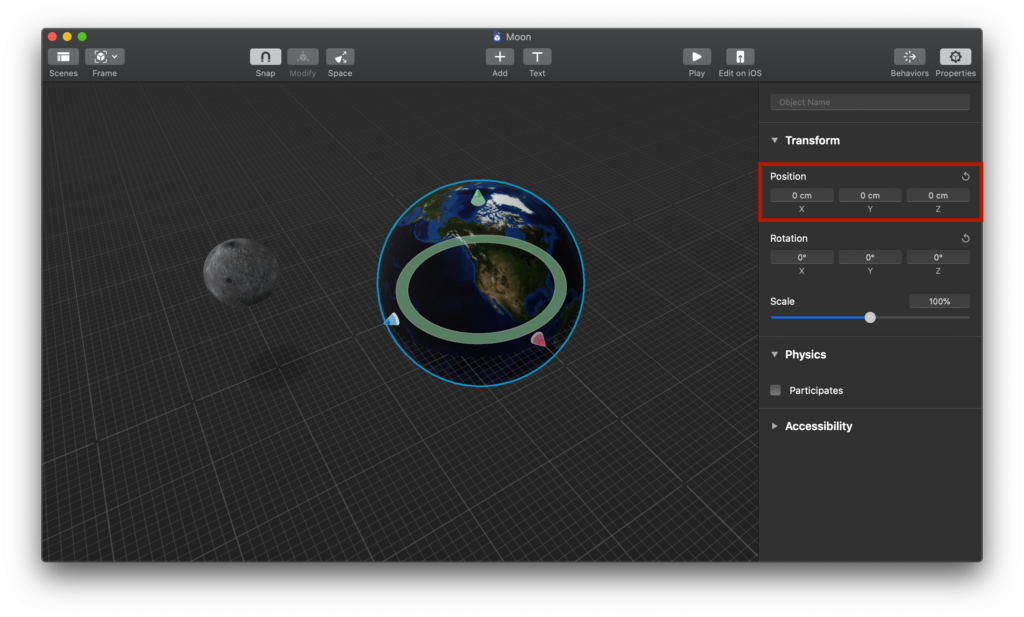
Since the Moon will be orbiting the Earth, it makes sense for it to be centered on the canvas. To do this, select the Earth and make sure the Properties pane is still open. Then, set all three values under Position to 0. This will put Earth at the canvas’s origin.
Reposition the Moon
Depending on where your Moon was placed originally, Earth may be overlapping it after you moved it to the center. Let’s move the Moon to a convenient location — close to the Earth and above the horizontal surface. If you’re an astronomy buff, feel free to calculate the exact placement of the moon from the Earth; however, we won’t be doing that here!
Click on the Moon and locate the Position. Then, set X to 0 m, Y to 1.5 m, and Z to 3 m. This will move the Moon to a somewhat accurate position relative to the Earth.
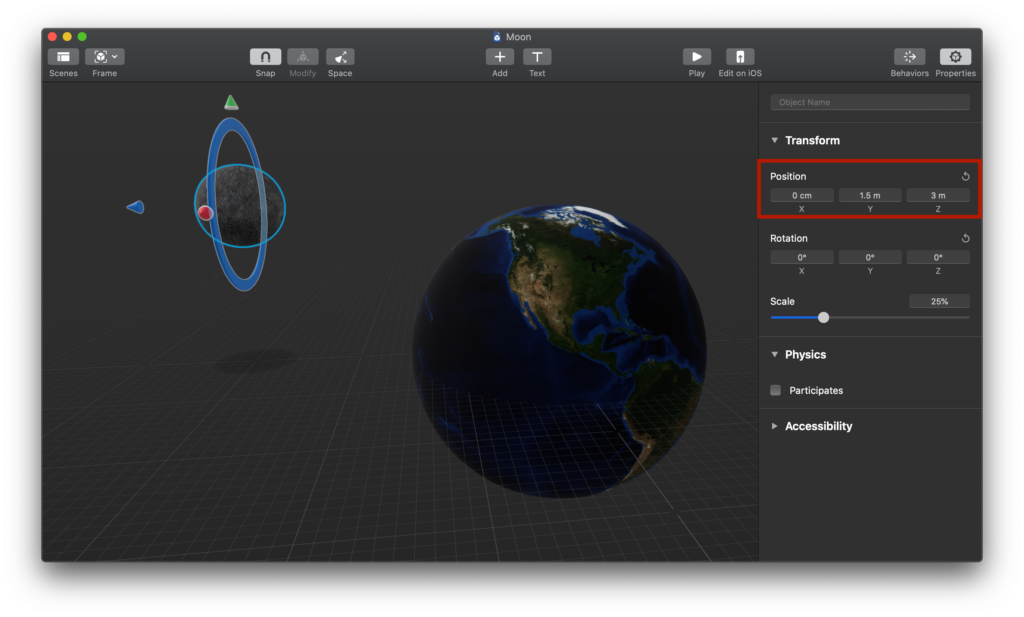
Great, the Moon should now be slightly above and a small distance from the Earth. This looks ready to animate, so let’s make the Moon orbit the Earth in the next step.
Animating the Moon
Now, let’s make the Moon move around the Earth. For the orbit, we’ll be using a scale of 30 seconds, where each second represents one day; this way, we’ll have a somewhat-to-scale representation of the time the Moon takes to orbit around the Earth.
Add Behavior
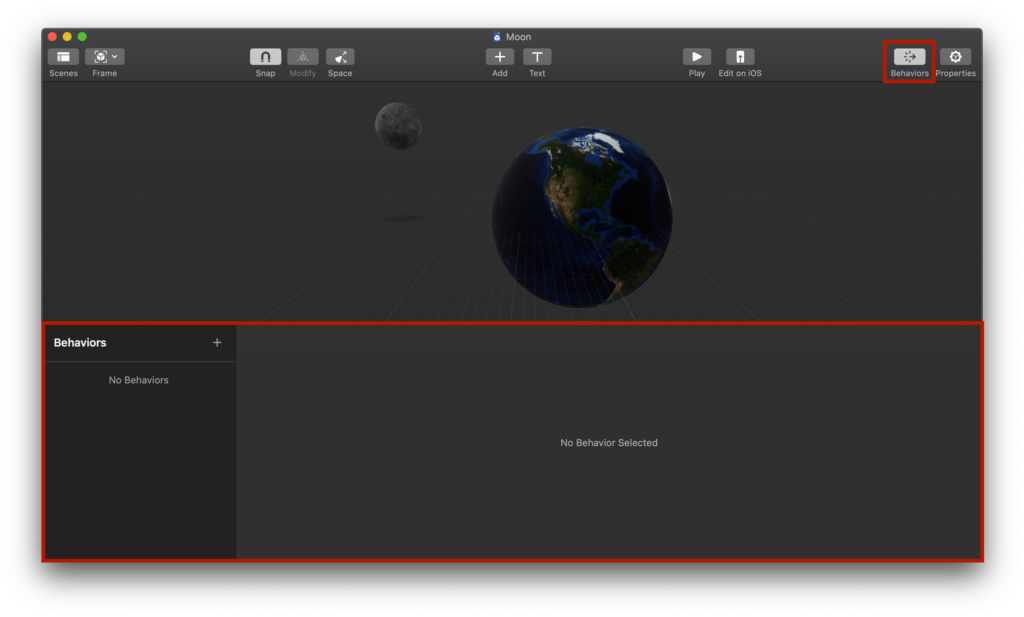
Start by selecting the Moon and then clicking on the Behaviors tab. This will cause a pane to pop up at the bottom of the screen, like this:
Then, click the + button next to Behaviors and scroll down to add a Custom behavior. The pane will change and look something like this:
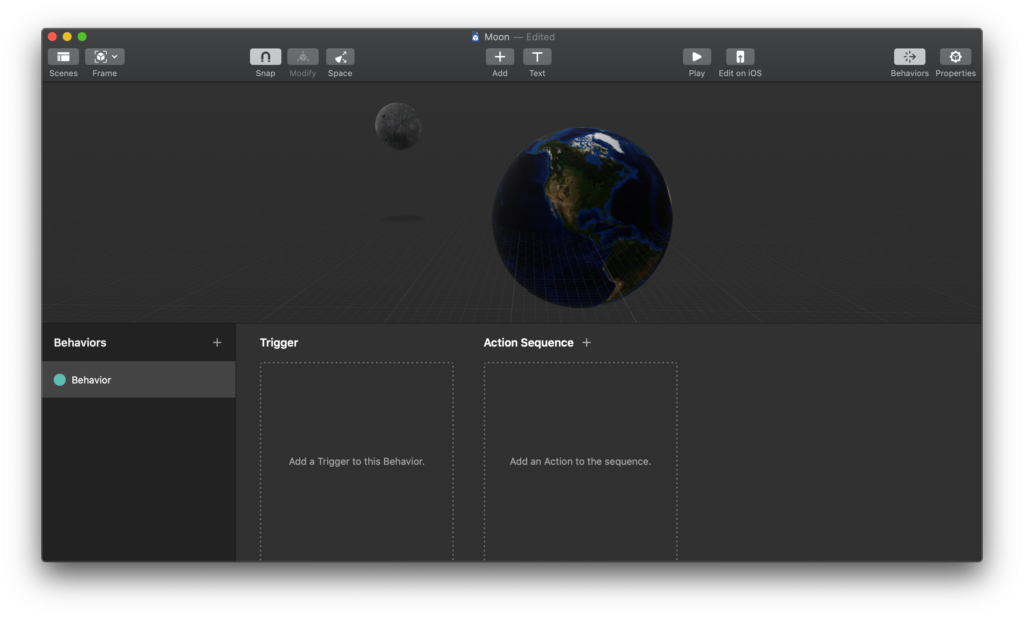
Add Trigger and Action
Next, we want to tell the Moon when to begin rotating. To do this, click on Add a Trigger to this Behavior to add a trigger. Then, select Scene Start. After that, click on Add an Action to the Sequence, and add an Orbit action.
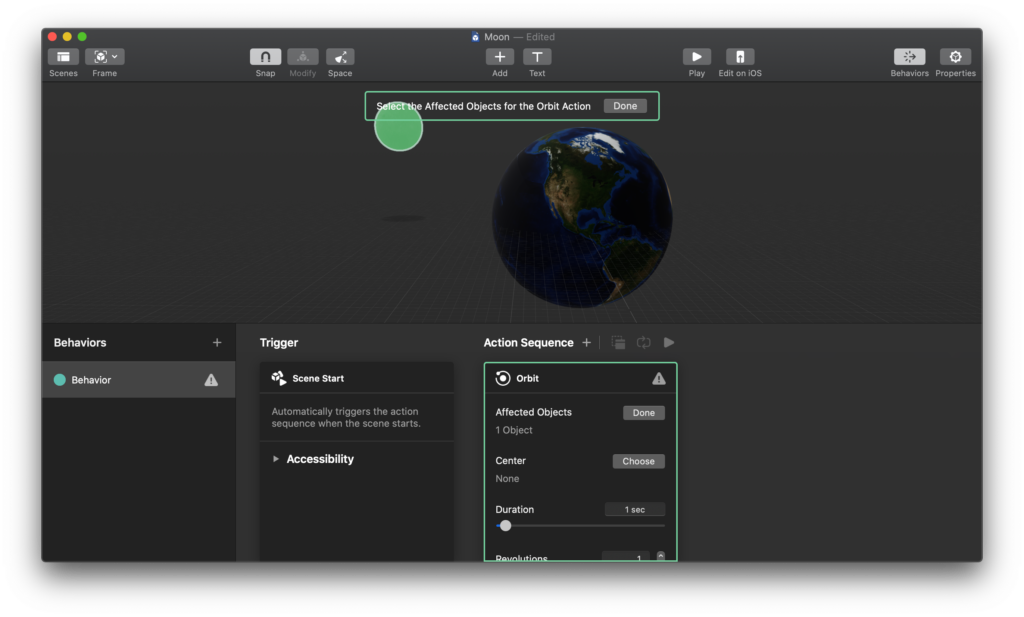
Selecting Targets
To tell Reality Composer which object we’re dealing with, click on Choose next to Affected Objects in Orbit. Then, click on the Moon to select it like this:
Then, click on Choose next to Center and click on the Earth, like this:
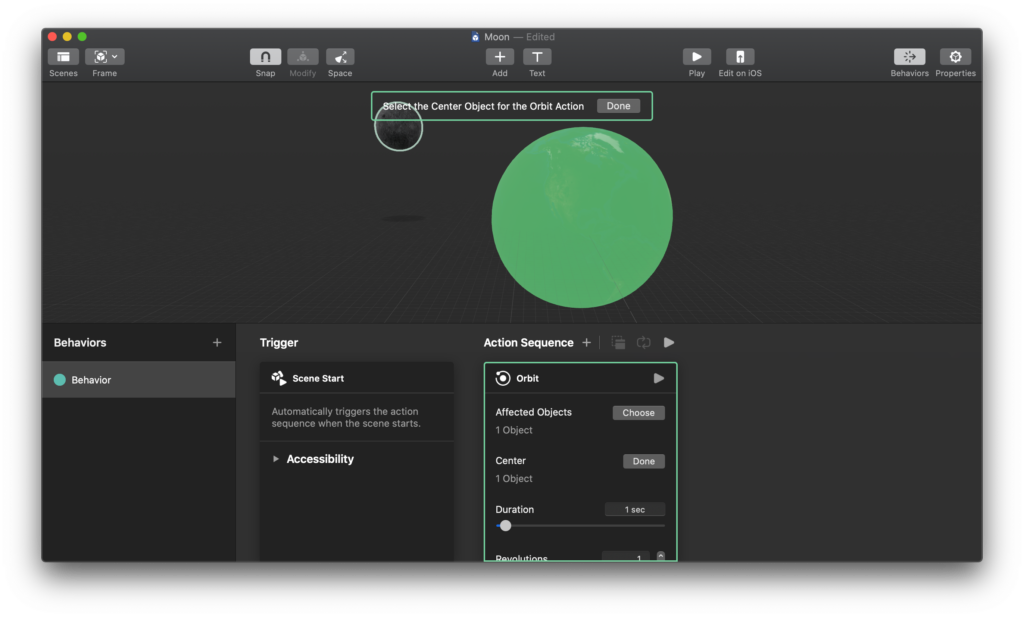
This tells the Moon to set the Earth as the center and orbit around it — exactly what we want it to do!
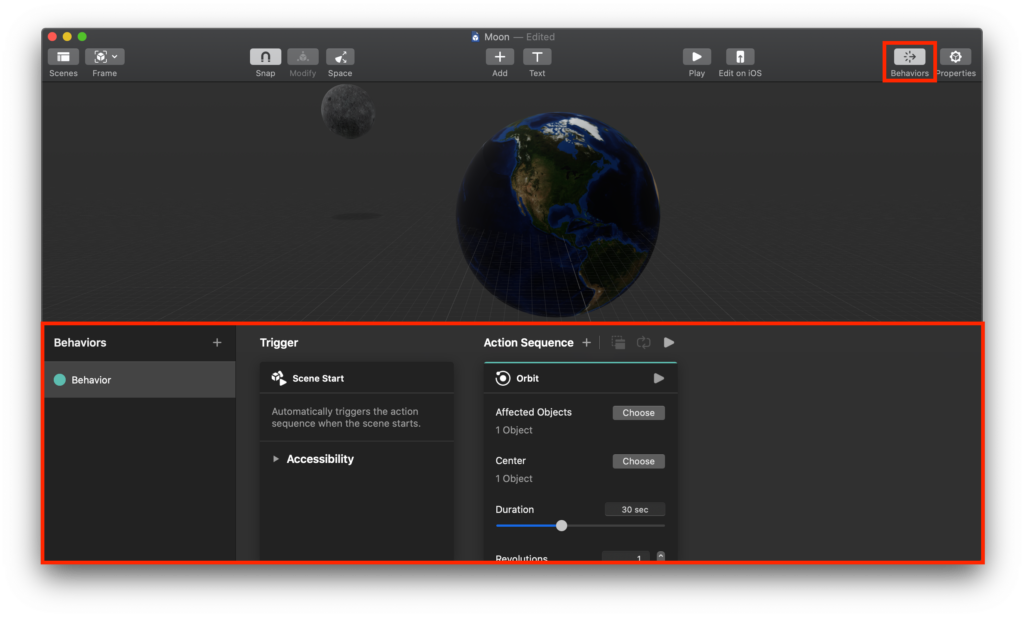
Setting the Speed
Finally, let’s set the speed at which the Moon rotates around the Earth to match our 30 secs/1 month scale we decided earlier.
Under Orbit, set the Duration to 30 sec and then set the Revolutions to 1. This tells Reality Composer to make the Moon complete one orbit in 30 seconds, or one month. Click Play and watch your result:
Animating the Earth
While we’re not replicating the whole solar system here, don’t forget that the Earth rotates around its own central axis, so let’s add that finishing touch before calling it a day.
Rotate the Earth
As you know, Earth isn’t completely straight; it has a 23° tilt. Let’s replicate this by clicking the Blue arrow on Earth to activate the ring. Then, use the ring and tilt the Earth by the amount you wish, like this:
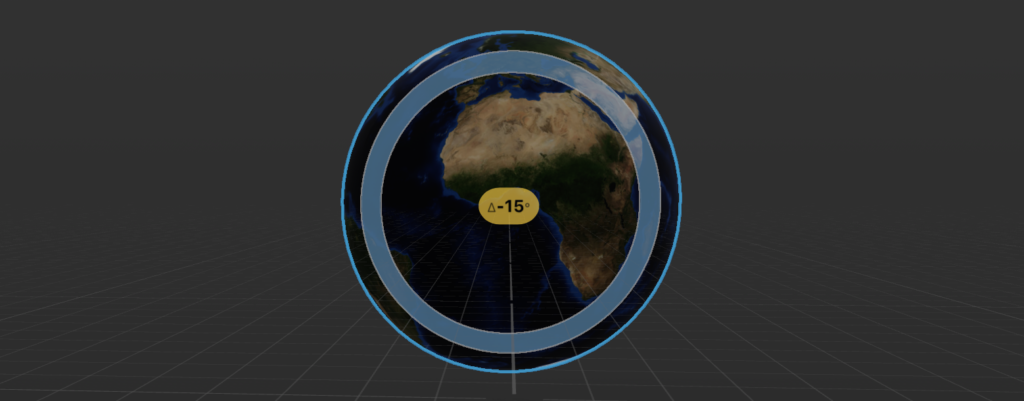
Now, the earth will rotate on its tilted axis as opposed rotating straight — which wouldn’t look realistic enough.
Add Behavior
As you did before, open the Behaviors pane by using the button in the menu bar. Here’s how it looks, in case you don’t want to scroll back up:
Then, click on the + button next to Behaviors to add a Custom behavior. This is exactly the same process as before, but for Earth.
Add Trigger
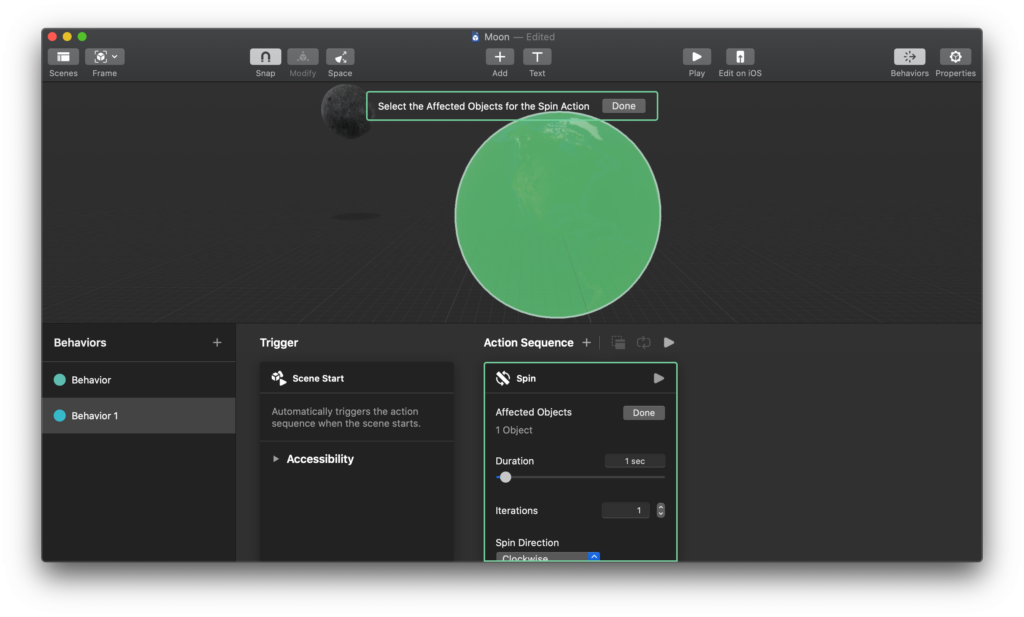
Next, click on Add a Trigger to this Behavior to add Scene Start. After that, click on Add an Action to the Sequence, and add a Spin action this time. This will allow Earth to spin around its own axis, instead of around another object.
Configure Action
Finally, to get everything finalized, let’s adjust some parameters. First, click Choose next to Affected Objects and select the Earth, like this:
Then, set the Duration to 30 sec, like before. This time, we want the Earth to rotate 30 times in 30 seconds, since there are (broadly speaking) 30 days in a month, and the Earth rotates once each day. To apply this, set Iterations to 30 to make the Earth rotate once per second — or, per day. Also, scroll down to make sure the Axis is set to Yaw to rotate it on its tilted, vertical axis.
Watch it Run
Now, click the Play button to watch your work come to life! You’ll see that the Earth rotates around itself much faster than the Moon orbits around the Earth — much like real life!

Conclusion
Congratulations! You’ve created a somewhat-realistic replica of the Earth and Moon sitting behind your computer. First, you imported USDZ files from NASA, then you animated the Moon, tilted the Earth, and spun the Earth.
To see your experience actually appear in your living room, you can test it out directly if you’re using an iOS device. If you’re on a Mac, simply send your file to your iPhone or iPad using the Edit on iOS button next to the Play button. Hopefully, your first experience with Reality Composer helped inspire you to create your own awesome augmented reality experiences. Onward!
Be sure to smash that “clap” button as many times as you can, share this tutorial on social media, and follow me on Twitter.

Comments 0 Responses