
My initial interest in mobile machine learning came from a somewhat strange place. In short, a friend of mine approached me with an idea for an application that would apply a NSFW filter to online videos. This led to a two-week deep dive into the tools to make this happen:
- The framework to be used to train the model (TensorFlow, Keras, Turi Create, etc.)
- The platform to launch this framework for training purposes (Google Colab, FloydHub, Conda, etc.)
- The programs to be used to markup photos (RectLabel, LabelImg)
- Python scripts to be used to convert these annotations in the format required by the framework
In the end, I collected a dataset of 100 photos which I found on the Internet (don’t ask), and I succeeded in training my first object detection model ready for mobile.
And while this project never came to fruition (my friend lost interest), I had learned about all the necessary tools, platforms, and processes to make an on-device object detection model.
Since I had all of these tools lined up, and I knew the process for putting them all together, I decided to try something else—this was the beginning of MakeML.
Building an Object Detection Core ML Model
Before we jump in, a few words about MakeML. The app runs on macOS 10.14+. It helps you to create object detection Core ML Models without writing a line of code.
The app manages Python dependencies, data preparation, and visualizes the training process. I’m going to show you how I trained an object detection Core ML model that can identify my guitar and amplifier with the use of the MakeML App. You can download the application on our website:
Compiling The Dataset
As you might already know, to train any neural network, you first need to find or compile a dataset. A dataset is the mainstay of any network, and the final result of a model depends heavily on the quality of the dataset. And the more advanced model you want to build, the more diverse and high-quality the dataset should be.
My friends from the AI department at Google used to tell me that they needed up to 50,000 labeled photos to train a model in order to achieve high accuracy. But to train the model for this project, I used only 23 photos. Although my model won’t identify a guitar of a different shape, or an amplifier of a different color, it has stored the basic pattern.
After I took 23 pictures of my guitar and amplifier, I swapped them via Airdrop to my Mac — then I needed to turn them into a model somehow.
Here’s a step-by-step look at how you can do this yourself.
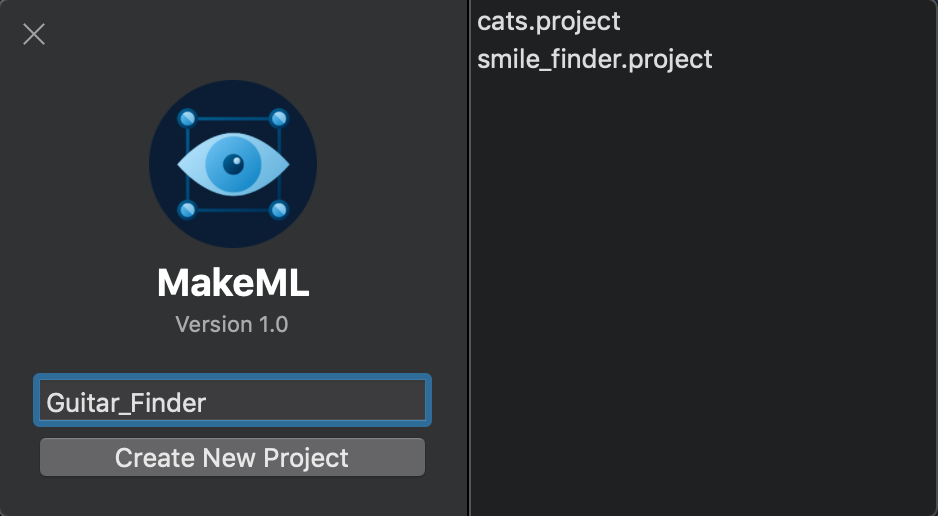
First, you need to open the MakeML app. On the right, you can see a panel that will display created projects. We need to create a project into which we’ll import photos; for this enter a name, for example, Guitar_Finder, and click “Create New Project”.
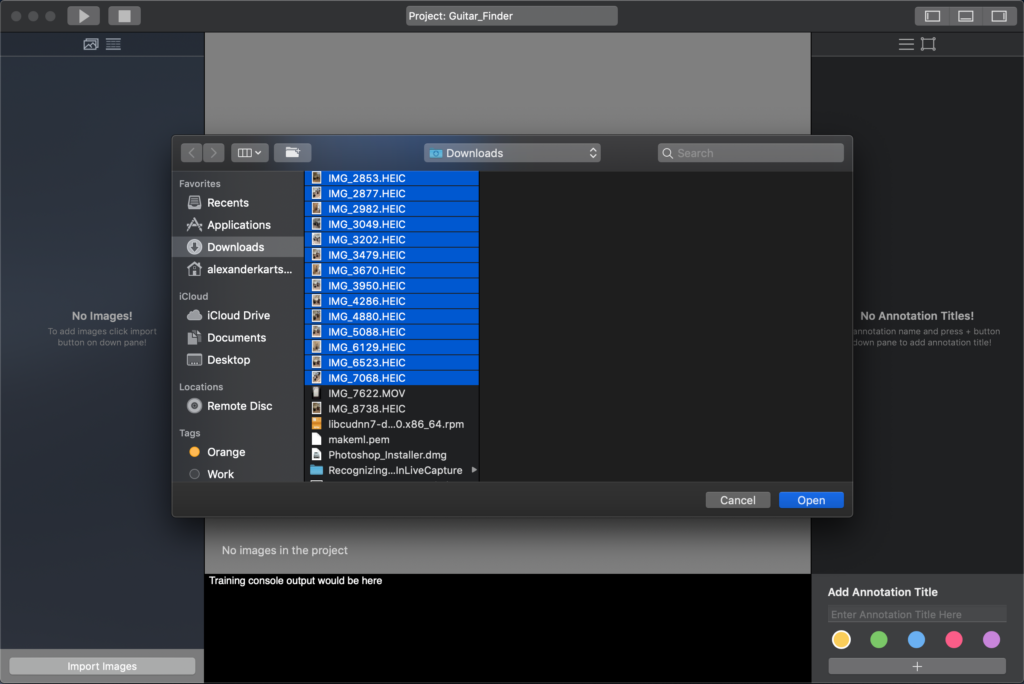
Click on Import Images, find the needed photos from your photo library, select them, and import them into the project; after this step, they’ll all be downscaled automatically and saved as .png files to your project in order to make data preparation easier.
Object Markup
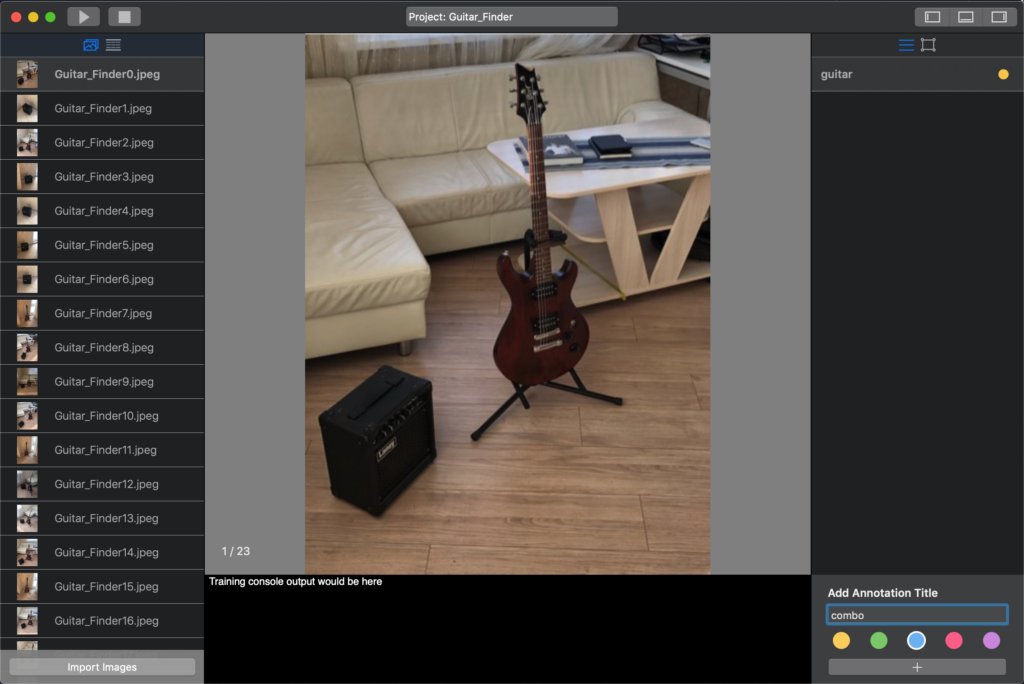
The next step is markup. Before we start our object markup, we need to decide what types of objects will be selected—it could be that there will be several types. For this project, we’re going to create a model for guitar and amplifier identification.
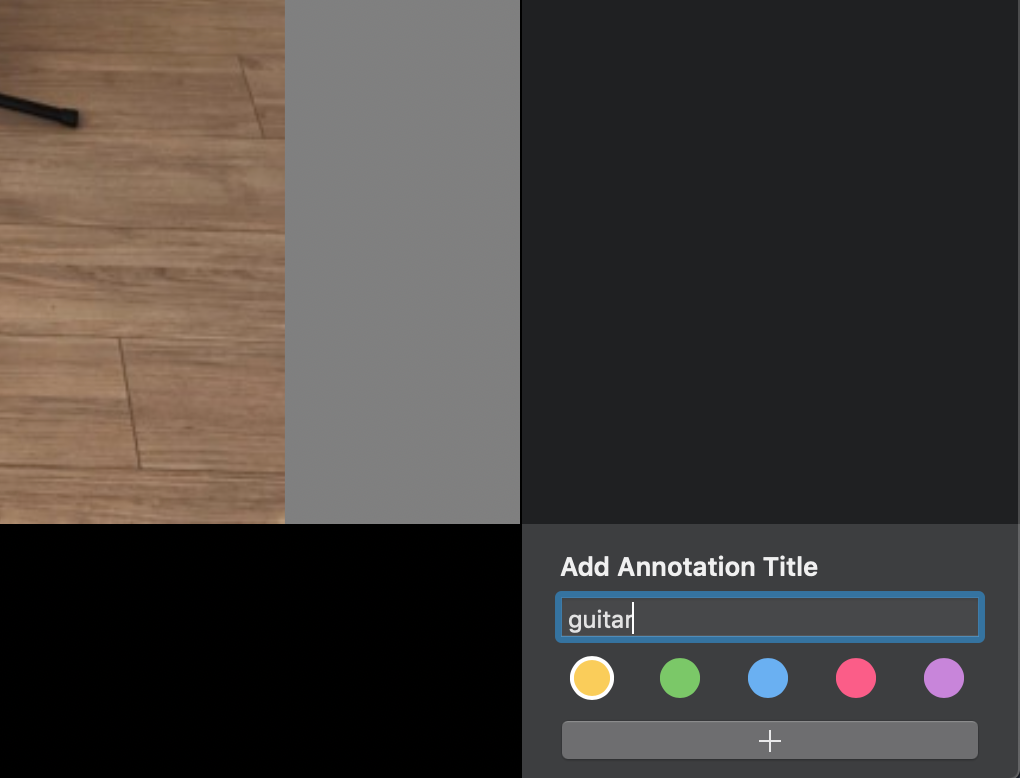
Therefore, we add annotation titles—guitar and combo. Choose different colors for the annotations so that the objects can be easily distinguished in the photo.

When you added all necessary titles, you should only select one of them and draw rectangles to highlight the desired objects on the photo. After all the photos have been processed, click the Run button.
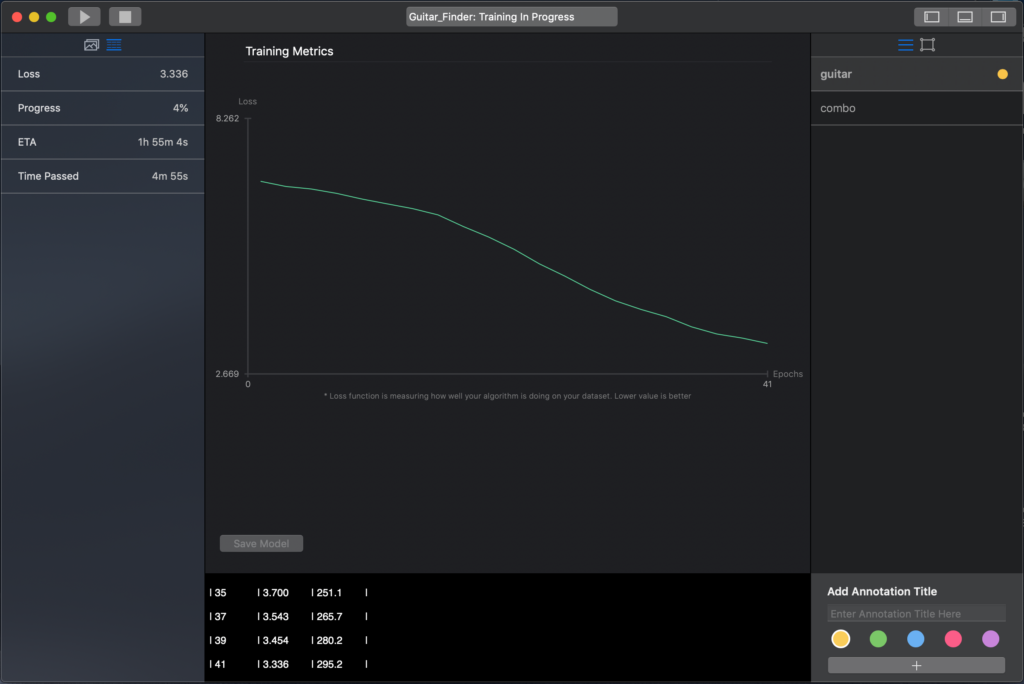
Model Training
As soon as the required dependencies are downloaded and configured (it takes about 5 minutes, depending on your Internet connection), statistics on your model training will start to be shown. The left panel displays the following training parameters: ETA, loss, and progress.
Currently the model trains locally, on the computer. Obviously, it takes a considerable amount of time. I spent about 3.5 hours, which is approximately 4.5 AC/DC albums.
And now I’m working on the possibility of training the model on the cloud using a powerful GPU, which will take much less time.
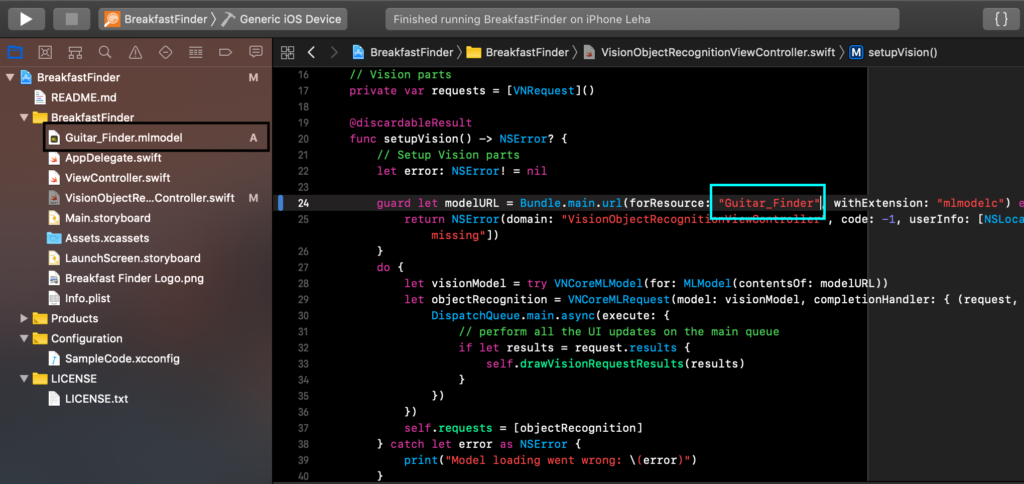
Upon the completion of training, save the model. Next, we import the Core ML model into our project. Let’s take an example from the Apple: just drag and drop the model file in the project.
Xcode will automatically create a class with the same name as your model. Just use this class in the required place as indicated in the screenshot.
Run the application and we see the following:
Feel free to contact us on any issues, propositions or feedback. We’ll highly appreciate it. Contact email: [email protected].

Comments 0 Responses