
OpenCV-Twilio-Python
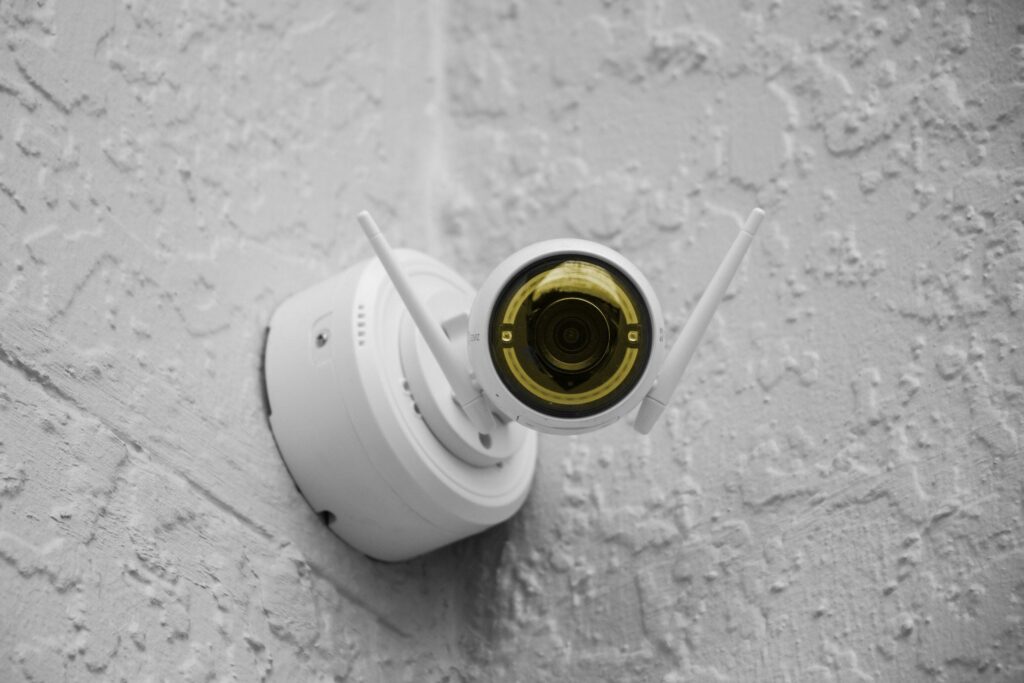
Revamp that old security camera you have in your backyard — the one that doesn’t even record images! Security systems too costly? Get working on build your own with Twilio and OpenCV !
One of the largest boons of technology has been how, with time, advanced camera and surveillance systems have become so widely accessible. Twilio today has democratized communications channels like voice, text, chat, video, and email by virtualizing the world’s comms infrastructure through APIs that are simple enough for any developer to use, yet robust enough to power the world’s most demanding applications.
In other words, Twilio helps average individual developers get a feel for having their own communication systems.
In this project, using Twilio, we’ll set up a communication base that will allow us to receive information from a face detection system we’ve installed locally — on our camera hooked to a computer or on our Raspberry Pi . However, before configuring Twilio we’ll first need to implement a face detection system with OpenCV.
Face Detection
The face detection system we’ll be implementing here is based on Haar cascades. The concept of Haar cascades was first proposed by Paul Viola and Michael Jones in their paper “Rapid Object Detection using a Boosted Cascade of Simple Features” in 2001.
It’s a machine learning-based approach where a cascade function is trained on various images. Positive samples are samples that contain objects to be detected, while negative samples are samples that don’t contain them. Fortunately, the Haar cascade method of face detection is made easier as it comes pre-trained with the OpenCV installation.
We won’t go too deep into the training details of Haar cascades and would stick to the code here. The code for implementing the Haar cascade algorithm for face detection with OpenCV is pretty simple —
import numpy as np
import cv2

face_cascade = cv2.CascadeClassifier('haarcascade_frontalface_default.xml')


img = cv2.imread('load_your_own.jpg')

gray = cv2.cvtColor(img, cv2.COLOR_BGR2GRAY)

faces = face_cascade.detectMultiScale(gray, 1.3, 5)

for (x,y,w,h) in faces:
    img = cv2.rectangle(img,(x,y),(x+w,y+h),(255,0,0),2)
    roi_gray = gray[y:y+h, x:x+w]
    roi_color = img[y:y+h, x:x+w]

cv2.imshow('img',img)
cv2.waitKey(0)
cv2.destroyAllWindows()
You might be wondering about the XML file we’re feeding into cv2.Cascadeclassifier(). The XML files contain the pre-trained classifier details. You can download it here. Copy the code and paste into a XML file, and you’ll be good to go!
Twilio
Twilio installation is pretty basic, as it comes with the PyPi module:
Check your installation:
Great! Now we that we have Twilio ready to go, all that’s left is creating an account on the twilio portal. You can sign up for Twilio here. After account creation, you’ll be redirected to the dashboard, which will contain your account SID and Authorization token. There you’ll also have the option of selecting your own trail number.
After collecting your SID and Authorization token, run the following to get a text message sent to your own phone:
Congratulations! You’ve sent your very first Twilio message.
Now that we know how to send messages to our phones with Twilio, let’s construct the messaging framework that will interact with our device and send a text whenever it detects a face:
from twilio.rest import Client
class Tellme(object):
  def __init__(self,TO,FROM,text):
    super(Tellme,self).__init__()
    self.TO=TO
    self.FROM=FROM
    self.text=text
  def _send(self):
    client = Client(self.TO, self.FROM)
    client.messages.create(to=self.TO, from_=self.From,
    body=text)
There we go! Now lets pack all this up in a driver code — something that will call the notifier class after detecting faces:
import numpy as np
import cv2
from notifier import Tellme
face_cascade = cv2.CascadeClassifier('casc/haarcascade_frontalface_default.xml')


cap=cv2.VideoCapture(0)
count=0
flag=0
while(cap):
	ret,img=cap.read()

	gray = cv2.cvtColor(img, cv2.COLOR_BGR2GRAY)
	faces = face_cascade.detectMultiScale(gray, 1.3, 5)
	if count>=50:
		flag=1

	for (x,y,w,h) in faces:
		count+=1
		if flag :
			flag=0
			count=0
			img = cv2.rectangle(img,(x,y),(x+w,y+h),(0,0,255),2)
			print("Calling notifier")
      meclass=Tellme("XXXXXXXXX","XXXXXXXXX","There's someone at the door!")
      meclass._send()
      #Notification Sent!
		else:
			img = cv2.rectangle(img,(x,y),(x+w,y+h),(255,0,0),2)
		roi_gray = gray[y:y+h, x:x+w]
		roi_color = img[y:y+h, x:x+w]


	cv2.imshow('img',img)
	q=cv2.waitKey(1)
	if q==27:
		break

cv2.destroyAllWindows()Voila! You can now use even your basic webcam as a security camera. Hook it up onto a PC-converted server, or run it on a Raspberry Pi !
Here’s a short video demonstrating the model in operation.
Check out my blog for faster updates and don’t forget to subscribe for quality content 😀
Hmrishav Bandyopadhyay is a 2nd year Undergraduate at the Electronics and Telecommunication department of Jadavpur University, India. His interests lie in Deep Learning, Computer Vision, and Image Processing. He can be reached at — [email protected] || https://hmrishavbandy.github.io

Comments 0 Responses