
Google’s sign-in provider is a convenient way to allow users to register and log in in a React Native app. It can provide a familiar onboarding experience to the user and can act as a single source of authentication. Using this, you don’t have to take care of functionalities such as email verification, forgot password, resetting passwords, and so on.
In this tutorial, we’ll implement a basic Google sign-in provider that works with React Native applications by using the module @react-native-community/google-signin.
Here’s what you are going to build in this tutorial.
Table of Contents
- Install dependencies
- Configure a new Firebase project
- Enable Google Sign-in from Firebase
- Set up the Google Sign-in library
- Add a login functionality
- Add a Google sign-in button
- Check a user’s logged-in state
- Display a user’s information
- Conclusion
Prerequisites
Before getting started, please make sure you have access to the following in your local development environment:
- Node.js version equal to or above 12.x.x
- JavaScript/ES6 basics
- watchman, the file watching service
- react-native-cli either installed as global dependency or access via npx
- a Firebase project (free tier aka Spark plan)
Do note that, in the post, I’m using React Native version 0.62.x.
Install dependencies
Start by creating a new React Native project. Open a terminal window and execute the following command:
# will generate a react native project
npx react-native init rnGoogleSignInExample

# navigate inside the directory
cd rnGoogleSignInExample
Next, install the module @react-native-community/google-signin.
yarn add @react-native-community/google-signinThis module is actively maintained by the React Native community. It provides features such as:
- Native sign-in buttons
- Support for authentication methods such as standard, server-side validation, and offline access
- A promise-based API for consistency
The Google Sign-in package provider requires you to have a webClientId using OAuth API. In this tutorial, you’re going to use a Firebase project connected to your React Native app instead of the Google OAuth API.
The main things you’ll need to integrate a Firebase project are:
- A Firebase Project
- Access to the WEB_CLIENT_ID and REVERSE_CLIENT_ID of a Google Project
In the next section, we’ll create a new Firebase project.
Configure a new Firebase project
To start a new Firebase app with a frontend framework or a library, the API keys are required. To obtain these API keys, you need access to a Firebase project.
A new Firebase project is created from the Firebase console here
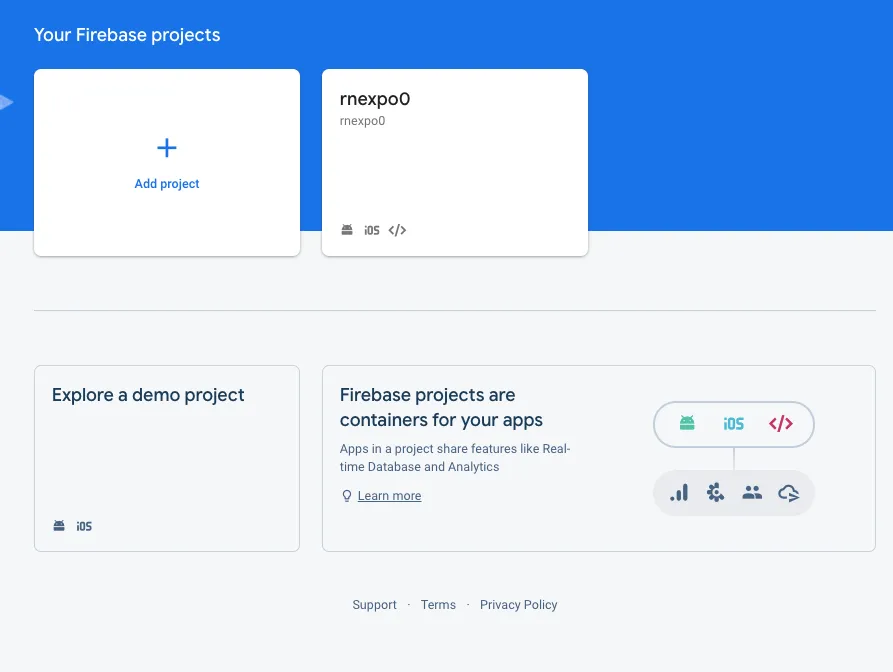
Initially, you can create a free-tier Firebase project, known as a Spark Plan.
Click on the button Add project and then enter the name of your choice
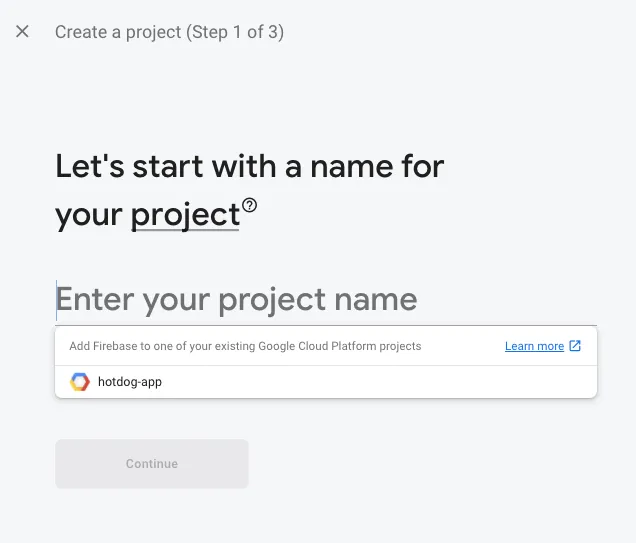
Then, click Continue on the step 2 screen.
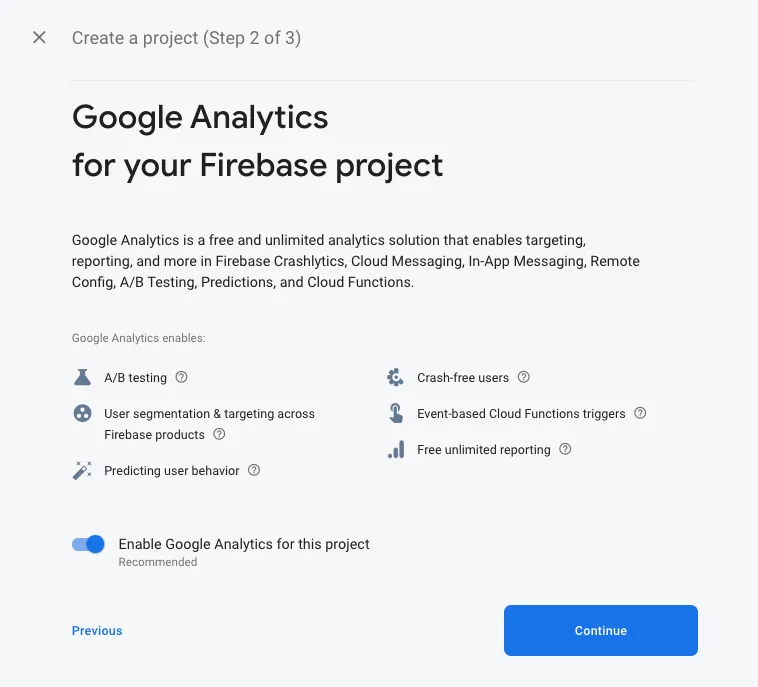
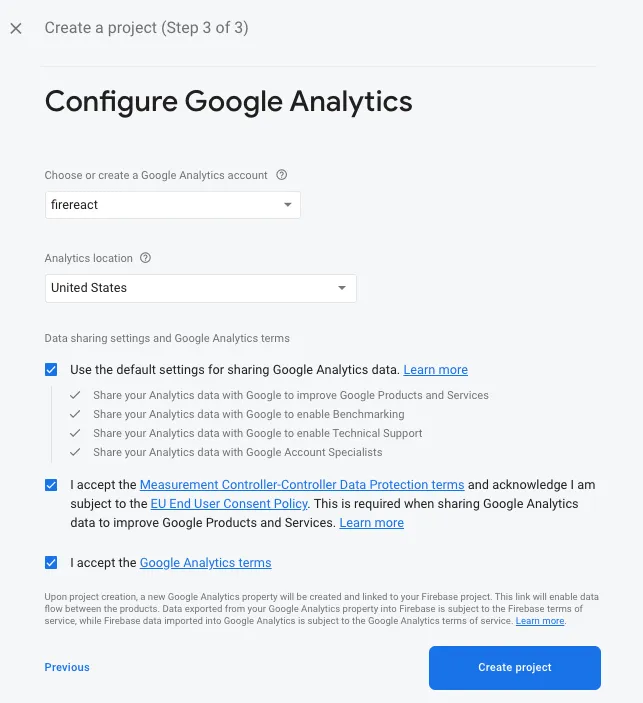
For step 3—the Google Analytics configuration—you can leave everything as default and press the button Create project to create a new Firebase project.
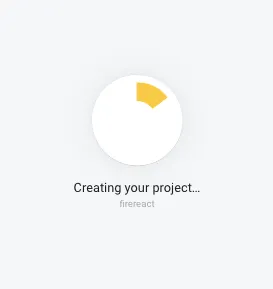
You might see a loading screen like below when the project is being created.
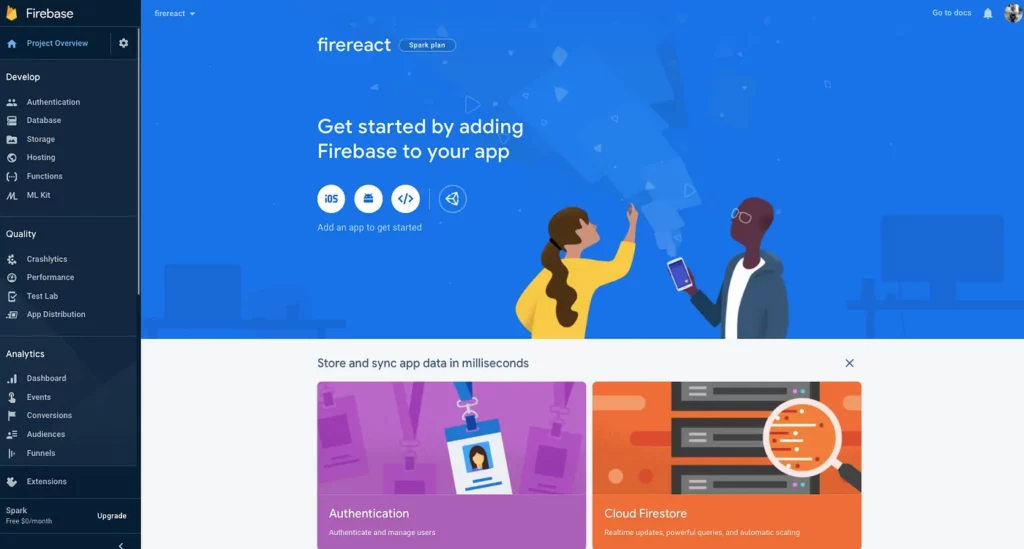
When the loading finishes, press the button and be welcome by the main dashboard screen of the Firebase project.
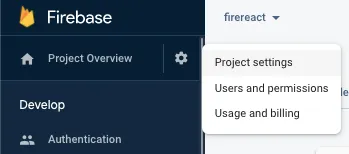
From the dashboard screen, click the settings icon from the side menu, and then go to Project Settings.
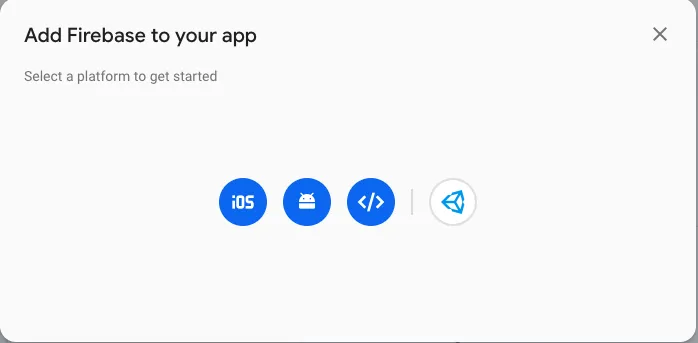
From there, click on the Add app button. Select the appropriate platform, and follow the included instructions. Select the appropriate platform depending on the target mobile OS.
For this tutorial, I’m going to select iOS.
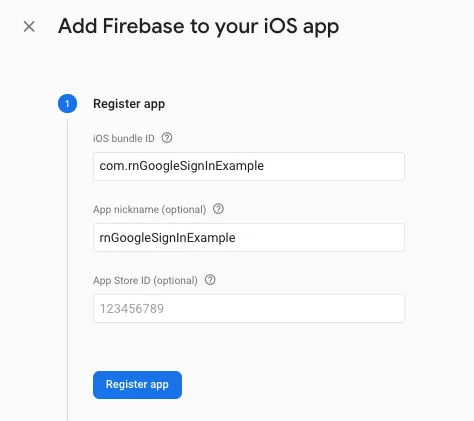
Then, enter the details regarding the bundle name.
After that, in step 2, download the file GoogleService-info.plist if your selected platform in the previous step is iOS.
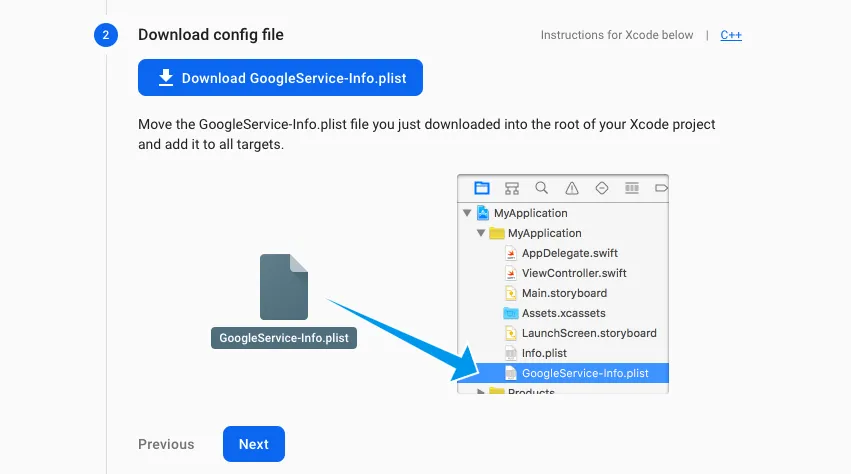
For Android, you will download a google-services.json and save it at the location android/app/.
Enable Google Sign-in from Firebase
From the side menu, go to the Authentication tab and select Sign-in methods. You’re going to be welcomed by all the providers that a Firebase project supports for any type of platform, such as web or mobile.

Enable the Google Sign-in method as shown below:
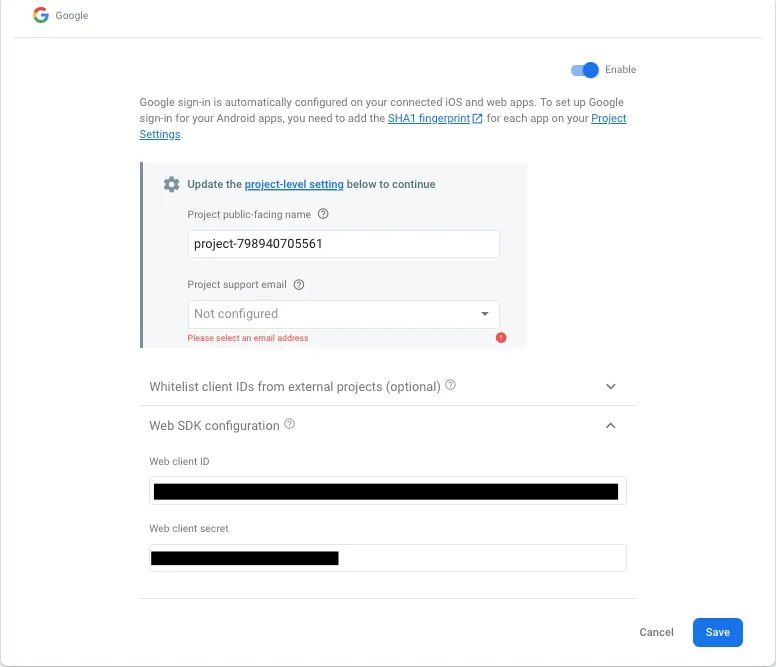
Don’t forget to select a Project support email. It’s going to be the Google email address you signed into the Firebase console with.
Make sure you save the web client id inside your React Native project before pressing the Save button. This can be done by creating a new file utils/keys.js:
export const WEB_CLIENT_ID = 'YOUR_WEB_CLIENT_ID';Set up the Google Sign-in library
To make sure the Google Sign-in library you installed earlier in this tutorial from the React Native community works on iOS devices, you have to add the pod associated with it. Open up a terminal window and install pods by executing the following command:
npx pod-installOpen the ios/rnGoogleSignInExample.xcworkspace inside Xcode. Go to the Build phases panel and, under it, open a section called Link binary with libraries to make sure libRNGoogleSignin.a exists.
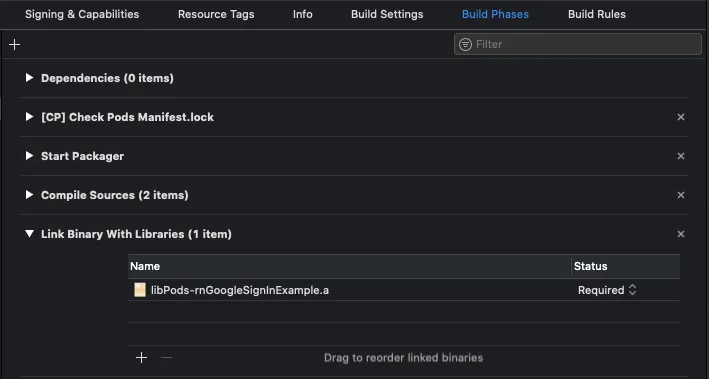
Also, under Copy Bundle Resources, as shown below, you’ll have to add the GoogleService-Info.plist file manually.

Click on the add sign +. It will open a popup. Click on the button Add other.
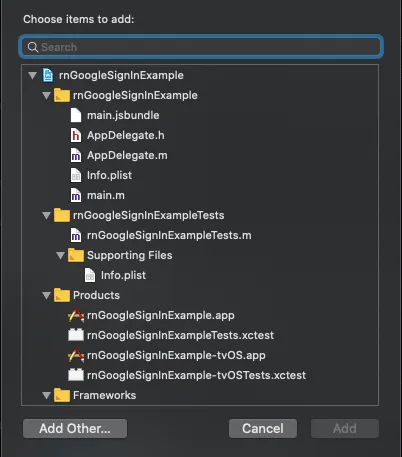
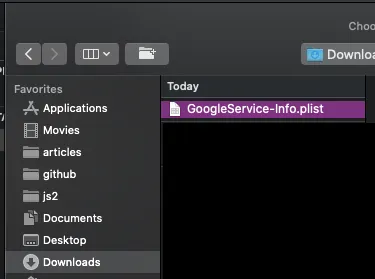
Browse to the location of the .plist file on your machine and once found, select it and add it.
On the last screen, leave every selection set to default selection and click Finish.
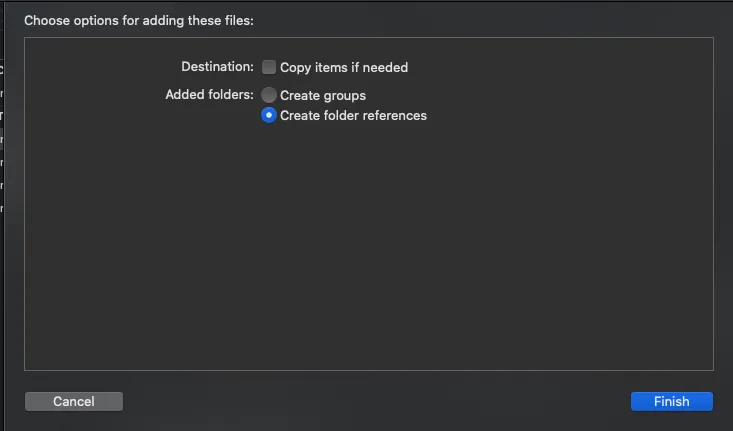
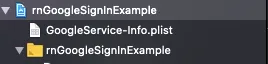
You’ll notice that the GoogleService-Info.plist file is shown under Copy Bundler Resources as well as on the side menu bar.

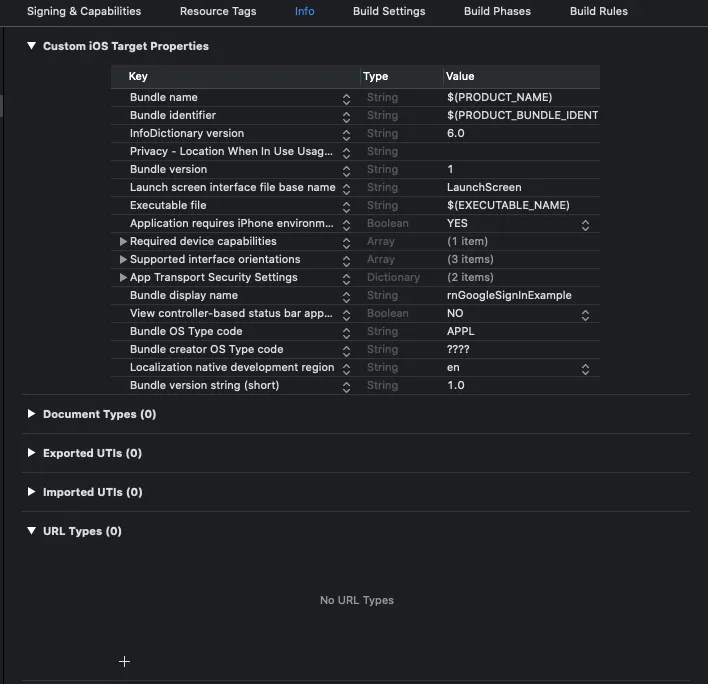
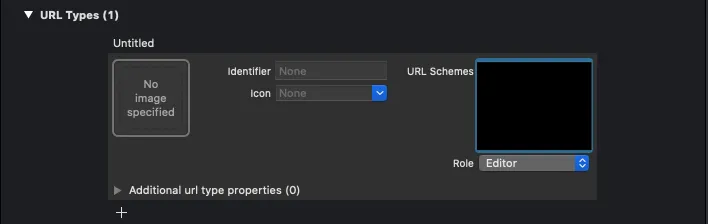
Now, open the Info panel and go to the section URL Types.

Add REVERSE_CLIENT_ID (which is to be found in file GoogleService-Info.plist) as the value of the field URL Schemes.

That’s it for the configuration. You can now start working on adding the login functionality.
Adding login functionality
Let’s complete the app and build the Login screen component. It’s going to handle the communication with the Google Sign-in community module. To test it out, you’re going to need a real Google account ID.
In the snippet below, WEB_CLIENT_ID is what you saved from Firebase Google Sign in panel in the previous section.
Open the App.js file and import the statements as shown below:
import React, { useState, useEffect } from 'react';
import { View, Text, Image, StyleSheet, Button, Alert } from 'react-native';
import {
  GoogleSigninButton,
  GoogleSignin,
  statusCodes
} from '@react-native-community/google-signin';
import { WEB_CLIENT_ID } from './utils/keys';
The google-signin library provides some ready-to-use helper functions and a functional UI login button, such that you don’t have to create one from scratch. This UI button component is called GoogleSigninButton.
GoogleSignin gives access to the Public API for the module. This object contains many helper methods such as signIn, signOut, and, more importantly, configures to check whether the web client ID being used is correct or not. The statusCodes imported are useful when determining which kind of error has occurred during the sign-in process.
Now, in the same file, define the following state variables using the React hook useState().
- userInfo for the user information after a successful login. Initially, it’s going to be null.
- isLoggedIn to check whether the user is logged in or not. Initially, it’s going to be false.
- error is going to be for statusCodes. Initially, it’s going to be null.
export default function App() {
  const [userInfo, setUserInfo] = useState(null);
  const [isLoggedIn, setIsLoggedIn] = useState(false);
  const [error, setError] = useState(null);

  // ...
}
Next, it is mandatory to call the GoogleSignin.configure() method before attempting to invoke signIn(). That said, this method has to be called whenever the app renders for the first time, so it’s better to call this method in a useEffect hook inside the App component after you’ve defined the state variables:
useEffect(() => {
  configureGoogleSign();
}, []);

function configureGoogleSign() {
  GoogleSignin.configure({
    webClientId: WEB_CLIENT_ID,
    offlineAccess: false
  });
}
Next, define a method called signIn inside the App component. It’s going to be an asynchronous function responsible for prompting a modal view to let the user sign into the application.
On success, inside this method you’re going to update the userInfo using setUserInfo and also display some common errors using the Alert component from React Native. On an error, there are a number of different scenarios that are essential to handle using statusCodes, as shown below:
async function signIn() {
  try {
    await GoogleSignin.hasPlayServices();
    const userInfo = await GoogleSignin.signIn();
    setUserInfo(userInfo);
    setError(null);
    setIsLoggedIn(true);
  } catch (error) {
    if (error.code === statusCodes.SIGN_IN_CANCELLED) {
      // when user cancels sign in process,
      Alert.alert('Process Cancelled');
    } else if (error.code === statusCodes.IN_PROGRESS) {
      // when in progress already
      Alert.alert('Process in progress');
    } else if (error.code === statusCodes.PLAY_SERVICES_NOT_AVAILABLE) {
      // when play services not available
      Alert.alert('Play services are not available');
    } else {
      // some other error
      Alert.alert('Something else went wrong... ', error.toString());
      setError(error);
    }
  }
}
Another asynchronous method is going to be a signOut() method. It has only one functionality to perform—to sign users out from the app.
This is done in two steps. First, calling the revokeAccess() method from Google Sign in. It removes the React Native application from the user’s authorized application. The signOut method removes the user’s session from the device.
async function signOut() {
  try {
    await GoogleSignin.revokeAccess();
    await GoogleSignin.signOut();
    setIsLoggedIn(false);
  } catch (error) {
    Alert.alert('Something else went wrong... ', error.toString());
  }
}
Next, create another asynchronously-invoked helper method called getCurrentUserInfo(). This method is going to return the current user.
async function getCurrentUserInfo() {
  try {
    const userInfo = await GoogleSignin.signInSilently();
    setUserInfo(userInfo);
  } catch (error) {
    if (error.code === statusCodes.SIGN_IN_REQUIRED) {
      // when user hasn't signed in yet
      Alert.alert('Please Sign in');
      setIsLoggedIn(false);
    } else {
      Alert.alert('Something else went wrong... ', error.toString());
      setIsLoggedIn(false);
    }
  }
}
The setIsLoggedIn update method is used to update a boolean value of whether the user is logged in or not. This method is useful to check when the user is already signed in.
Add a Google Sign-in button
The app currently renders nothing on the screen. In this section, let’s add some UI. Create a sign-in button by adding the following UI components and return the JSX from the App component.
export default function App() {
  // ...
  return (
    <View style={styles.container}>
      <GoogleSigninButton
        style={styles.signInButton}
        size={GoogleSigninButton.Size.Wide}
        color={GoogleSigninButton.Color.Dark}
        onPress={() => signIn()}
      />
    </View>
  );
}
Also, add the corresponding StyleSheet object.
const styles = StyleSheet.create({
container: {
flex: 1,
justifyContent: 'center',
alignItems: 'center'
},
signInButton: {
width: 200,
height: 50
}
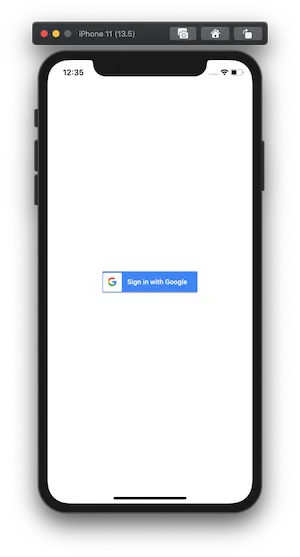
});You have to build the iOS app first—to do so, run the command npx react-native run-ios. After building the app, it’s going to trigger a metro bundler service.
Once this process is finished, here’s how the app looks in an iOS simulator:
How to check a user’s logged-in state
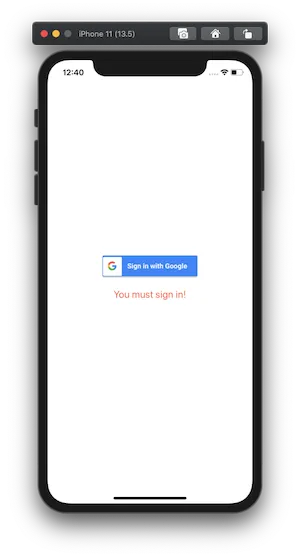
In this section, let’s configure the screen to check whether a user is logged in or not after the Sign-in button gets pressed. We’ll do this with the help of the isLoggedIn state variable. Add the following snippet to the render method after the Google Sign-in button display.
<View style={styles.status}>
  {isLoggedIn === false ? (
    <Text style={styles.loggedinMessage}>You must sign in!</Text>
  ) : (
    <Button onPress={() => signOut()} title='Sign out' color='#332211' />
  )}
</View>
Update the StyleSheet object with the following styles:
const styles = StyleSheet.create({
  // ... previous styles

  status: {
    marginVertical: 20
  },
  loggedinMessage: {
    fontSize: 20,
    color: 'tomato'
  }
});
If the user is logged in, the message will be replaced by a sign out button that can be pressed to trigger the signOut method.
Let’s try to sign into the app.
This will open a modal view where the user is going to add the credentials—their Google ID email and the password associated with it. Once successfully signed in, the logged-in state will change and a sign out button will appear.
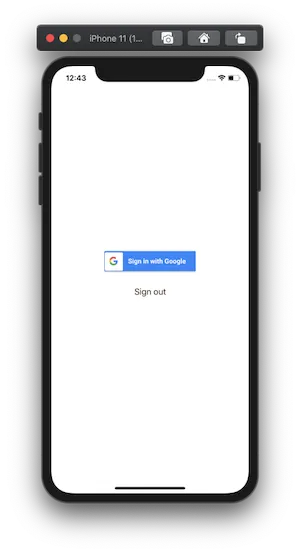
On pressing sign out, it will take the user back to the initial screen.

Now, when the user attempts to sign back into the app, it will not ask for the user’s password again.

If the process to sign in is canceled, then the appropriate alert message is displayed.

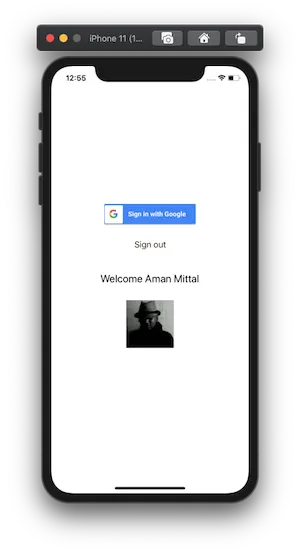
How to display a user’s information
In this final section, let’s update the UI of the example app to display some of the user’s information when they’re logged in.
Update the JSX of the app component for the final time.
export default function App() {
  // ...

  return (
    <View style={styles.container}>
      <GoogleSigninButton
        style={styles.signInButton}
        size={GoogleSigninButton.Size.Wide}
        color={GoogleSigninButton.Color.Dark}
        onPress={() => signIn()}
      />
      <View style={styles.status}>
        {isLoggedIn === false ? (
          <Text style={styles.loggedinMessage}>You must sign in!</Text>
        ) : (
          <Button onPress={() => signOut()} title='Sign out' color='#332211' />
        )}
      </View>
      <View style={styles.userInfoContainer}>
        {/* ADD THE FOLLOWING */}
        {isLoggedIn === true ? (
          <>
            <Text style={styles.displayTitle}>
              Welcome {userInfo.user.name}
            </Text>
            <View style={styles.profileImageContainer}>
              <Image
                style={styles.profileImage}
                source={{
                  uri: userInfo && userInfo.user && userInfo.user.photo
                }}
              />
            </View>
          </>
        ) : null}
      </View>
    </View>
  );
}
In order for it to work, make sure to update the StyleSheet object as well.
const styles = StyleSheet.create({
  // ... previous styles

  userInfoContainer: {
    marginVertical: 20
  },
  profileImageContainer: {
    marginTop: 32,
    paddingHorizontal: 24,
    flexDirection: 'row',
    justifyContent: 'center'
  },
  profileImage: {
    width: 100,
    height: 100
  },
  displayTitle: {
    fontSize: 22,
    color: '#010101'
  }
});
Here is the final output:
Conclusion
Steps defined in this post complete the basic aspects of using Google’s sign in provider and integrating with a React Native app, with the help of the module @react-native-community/google-signin.
To make this work on an Android, check out the official guide to configure the Google Sign-in package for Android, provided by the React Native community in the Links section below.
Links
- @react-native-community/google-signin
- The official guide to install @react-native-community/google-signin module for iOS
- The official guide to install @react-native-community/google-signin module for Android
👉 If you are interested in learning more on React Native, check out these resources:
- React Native’s Official documentation
- More posts on React Native at my personal blog amanhimself.dev that is frequently updated with new posts
Comments 0 Responses