
Everyone knows that Swift is an open-source language from Apple and is available on macOS machines. Some of you might even know that Swift can be compiled on iPadOS.
But did you know that Swift is also available on Ubuntu? If yes, have you ever tried it?
Let’s try this out here—this post will walk you through compiling a Swift file on Ubuntu.
Getting Ubuntu
If you have an Ubuntu machine available, you can skip to the Downloading Swift section.
Otherwise, don’t worry. I can help you get an Ubuntu VM on your macOS or Windows workstation. We’ll use a product called Multipass from Ubuntu to instantly create Ubuntu VMs on your existing machine(s).
Installing Multipass
You can download the installer for Windows / MacOS / Linux machines from the Multipass website here:
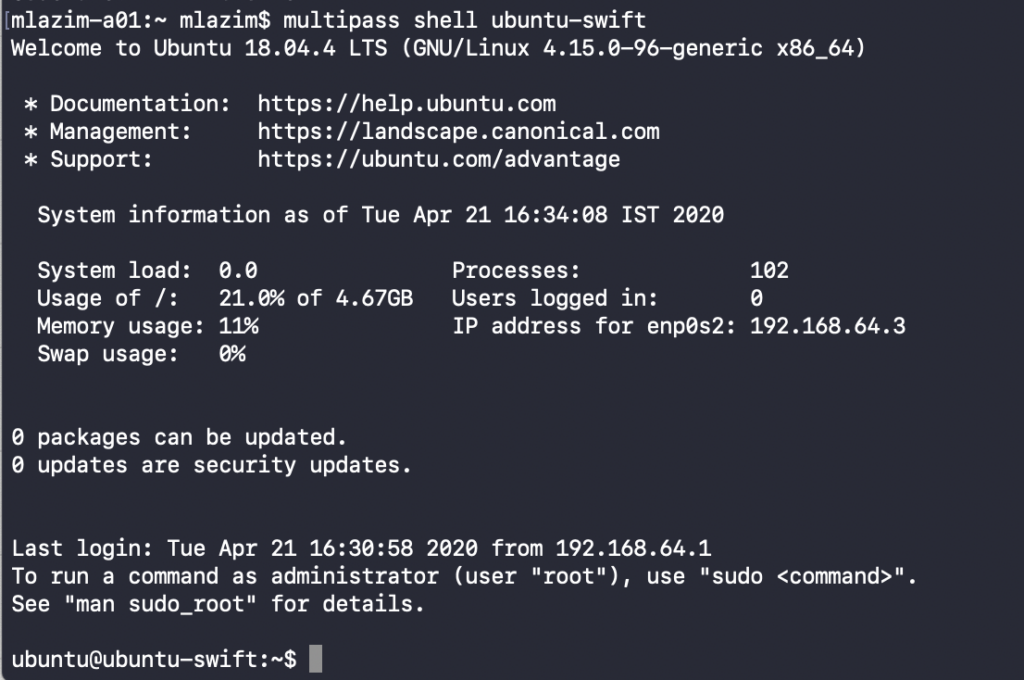
Launching your first Ubuntu VM
Run your first Ubuntu VM with this command:
If this is your first time launching an Ubuntu VM, it might take some time, as it needs to download the Ubuntu LTS image from the repo.
Once done, you’ll get a message like this:

Verify the version of Ubuntu that’s installed. This is required to get the correct version of Swift.

Note that 18.04 is the Ubuntu version here.
Swift Toolchain
You can get the latest Swift toolchain from their download page here.
Find the toolchain URL for the specific version for your Ubuntu. Here, it’s 18.04 for me.
The URL might look like this: https://swift.org/builds/swift-5.2.2-release/ubuntu1804/swift-5.2.2-RELEASE/swift-5.2.2-RELEASE-ubuntu18.04.tar.gz
Enter into Ubuntu Shell
You can enter directly into the VM’s shell using the following command:
Now you’re in the Ubuntu shell, and whatever command you type will be executed on the VM.
Downloading Swift
When you start, you’ll be in the folder /usr/ubuntu. We can create a new directory and download the toolchain into this:
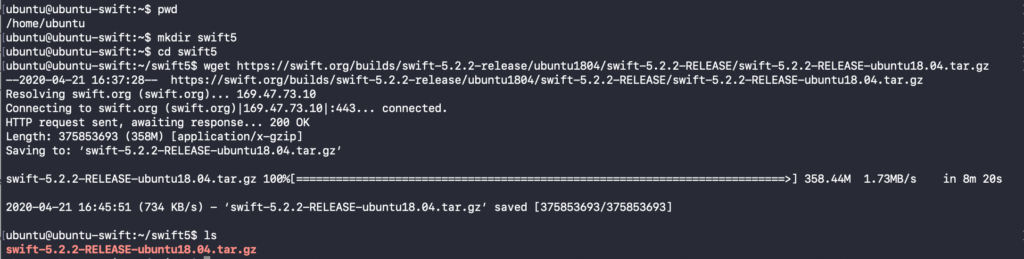
Unarchive the tarball file using the command above.
Install other dependencies
Now we need to install other dependencies required by the Swift Compiler. This includes clang, libpython2.7, & libicu, as mentioned in the Swift download page.
Final Changes
Finally, we can move the unarchived Swift files into the shared folder & configure the environment variables to get an executable available via the terminal.
Make sure the source folder name (Swift version) is correct while moving the files.


Verify Swift
Swift can be verified using the version option on the Swift compiler.

Hello World!
Congrats! 🎉
You have successfully installed Swift on an Ubuntu machine. Let’s say those two miraculous words now.
Create Hello.swift
Run compiler


Moving Forward
Since you have Swift installed on your Ubuntu machine (or VM), you can use all packages available with it to create awesome Swift applications.
Learn more on SPM here.
Feel free to comment any suggestion or feedback.

Comments 0 Responses