
Lens Studio can gives one the ability to create some truly amazing augmented reality effects for Snapchat. I’ve found the performance and speed with which these lenses display to be very smooth, and this is due in part to the strict requirements that Snapchat has for the quality of submitted lenses.
However, this performance comes with a price. One of the most challenging things any lens creator faces is fitting everything into the 4mb of space that is allowed.
Creating complex and beautiful augmented reality experiences that are still within the size limit can be tricky, but there are several tricks that can help tremendously. Snapchat has provided some useful recommendations in this article.
There is a fine balance to be struck between having a small lens and it still looking nice though. Here’s what I have found works best to keep your file size low and your lens quality high.
In this article:
How to Keep your Models Small
In the above article, Snapchat recommends keeping models under 10,000 triangles (or under 5000 quads). This can easily be achieved with the main 3D software out there: Blender has a decimate modifier that is easily adjustable.
Unfortunately, this can cause a big dip in quality. If you have a complex model of something, let’s say a cactus, it can be hard to decimate it enough that it still looks like a cactus and not an amoeba. This is where the first lesson comes in:
Decimate a little at a time
Let’s keep using this cactus example. Let’s say you’ve modeled the cactus, and you’re ready to import it into Lens Studio.
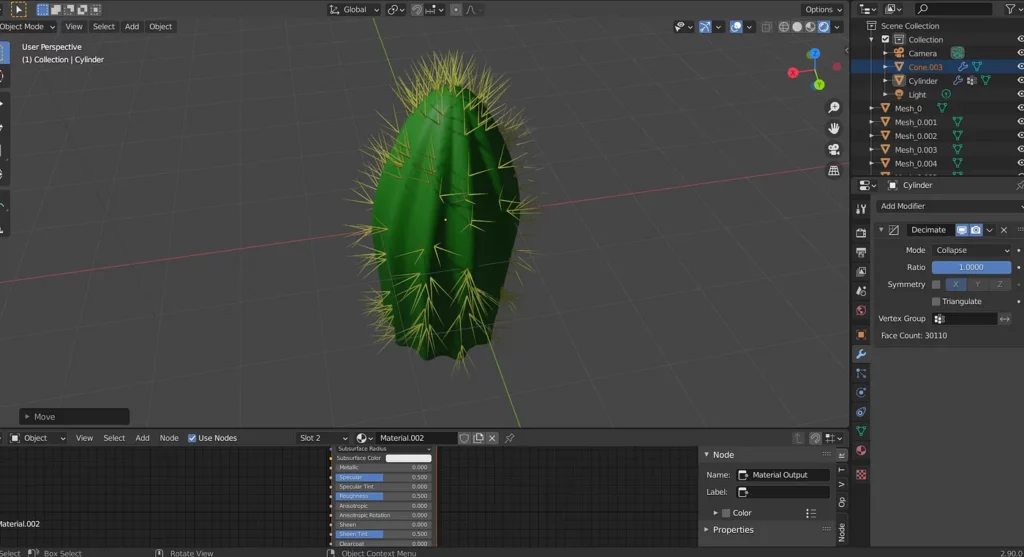
As we can see in the decimate modifier, there are currently over 30,000 faces on this cactus, waaaaaay too many for such a simple object. Let’s decimate it a bit:
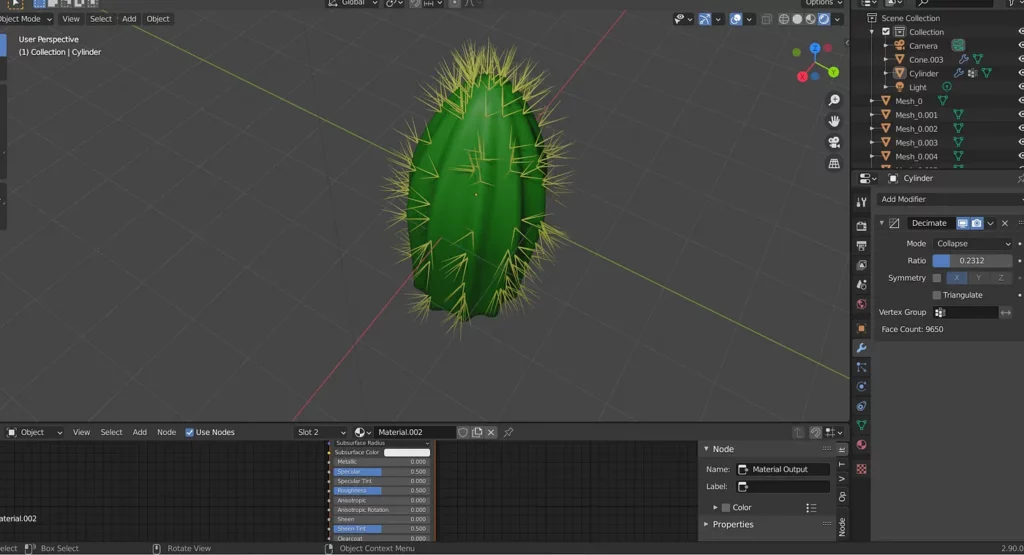
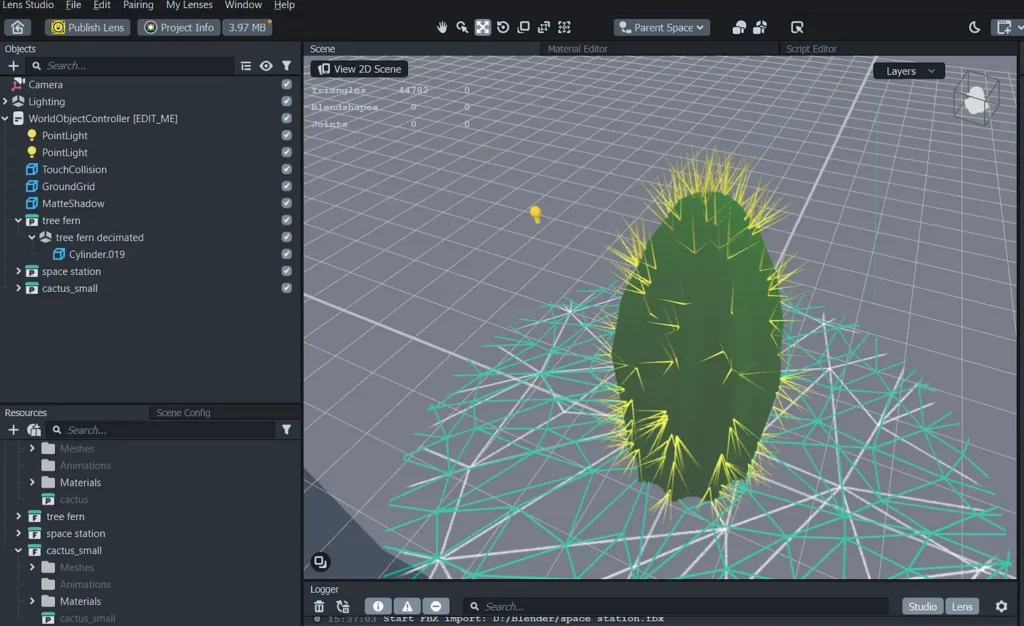
This still looks pretty good, let’s try this out. If we export it as an fbx and use it in Lens Studio, we can see that it is quite chunky. In fact, it pushes us over the limit of 4mb by a bit (for reference, there are other objects in the scene outside of our view).
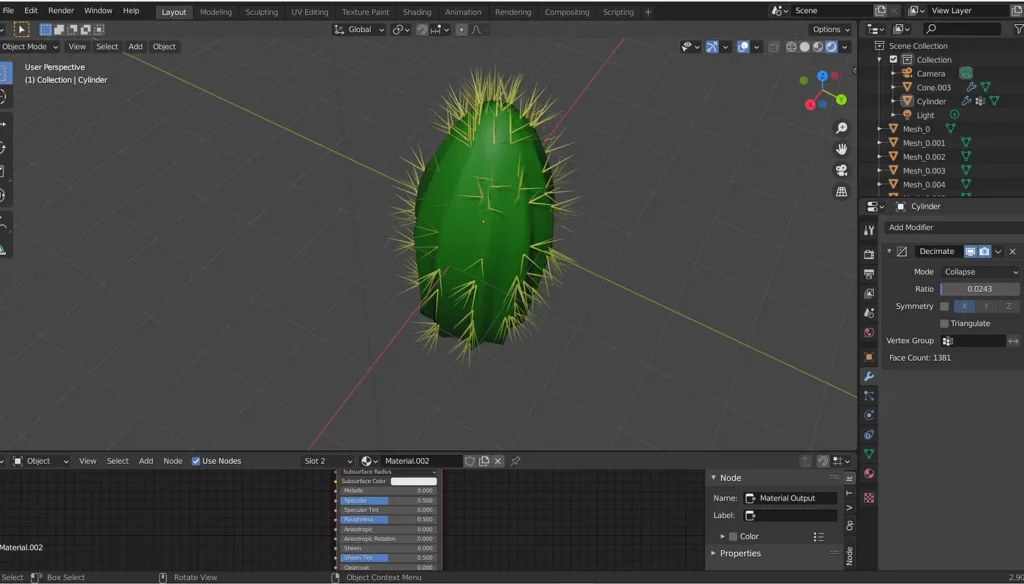
Let’s fine tune the decimation a bit more. If we go down further, we get less detail, but we can see that it has nearly a tenth of the number of faces compared to the previous cactus.
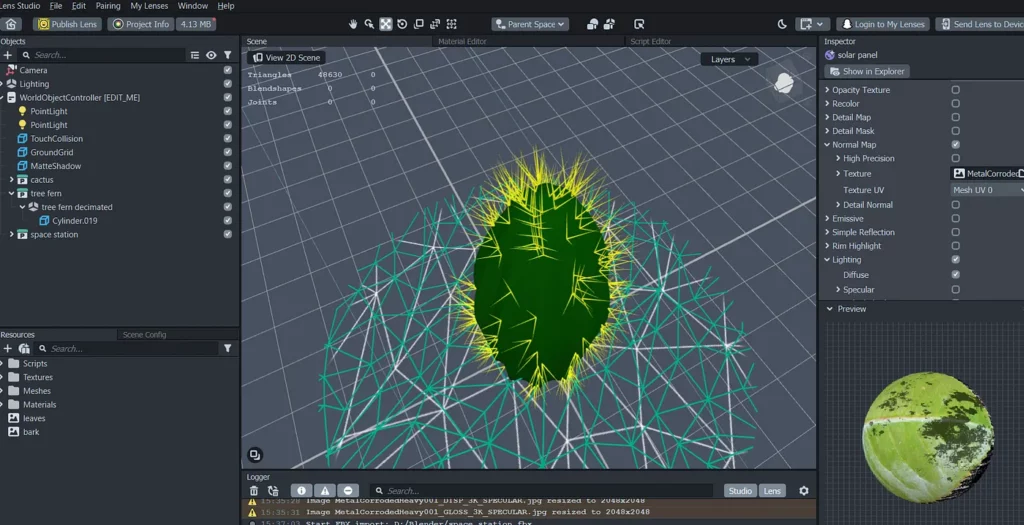
If we import this into Lens Studio, we can see that we are now just below the 4mb mark. Hooray!
This type of iterative decimating is good as it lets us control the amount of faces more so we don’t end up losing good geometry for no reason.
Use as few animations as possible
Animations take up space and many of them can add up. Make sure you only include as many animations as you need, and if you have a repeating animation, try and repeat it in Lens Studio using the animation controller (by setting cycles to -1) rather than when you’re making the animation in Blender (or whatever software you’re using).
How to Keep your Texture Files Small
Texture files can generate a huge amount of space in a lens. Sometimes after I’ve compressed my texture files, my lens has gone down by 10gb or more. Recently, Lens Studio introduced a built-in texture compression feature which makes compressing image files a lot easier, however, it is often not enough and the images need to be compressed in an external program such as Photoshop. When doing this, keep the following things in mind:
Some textures can be compressed a lot more than others
Normal and transparency maps can often be compressed a lot more than albedo maps, as it’s easier to notice lack of detail in the base image texture of an object. Not only that, but keep in mind that smaller or further-away objects can have their textures compressed a lot more too, as the reduction in quality will be harder to notice.
Re-use textures as much as possible
If you have a complicated effect with many different objects, there is a good chance that you can use some textures more than once, making this a good hack for saving space. Take the recent New Zealand forest lens I made:
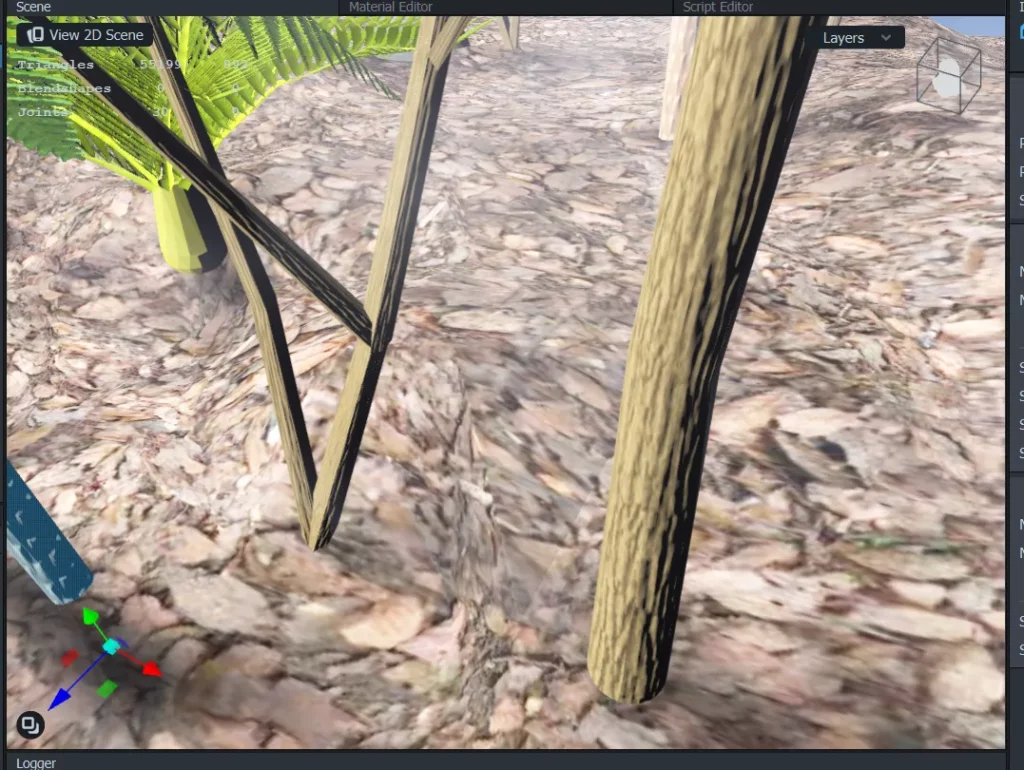
I modeled four species of tree, but I only used three bark textures, as the manuka tree and cabbage tree bark materials shared the same texture. I varied the base color and scale of the texture on these materials to give them the appearance of having more variety.
Use lighting wisely
In the movie “Jurassic Park,” most of the special effects still hold up well to this day. There are many reasons for this, but one has to do with the lighting. Many of the dinosaur scenes were filmed at night, meaning that the dinosaurs didn’t have to look as good as if it had been a daytime scene. Our brains are used to receiving less image information in poorly-lit environments.
This means that the quality of the assets in your lens can be lower if they aren’t brightly lit. Of course, this doesn’t mean you should just turn the lighting down on your lens, but if the situation calls for it, it can often be a good way to use lights to draw attention to the things you want the user to focus on. Take the following lens:
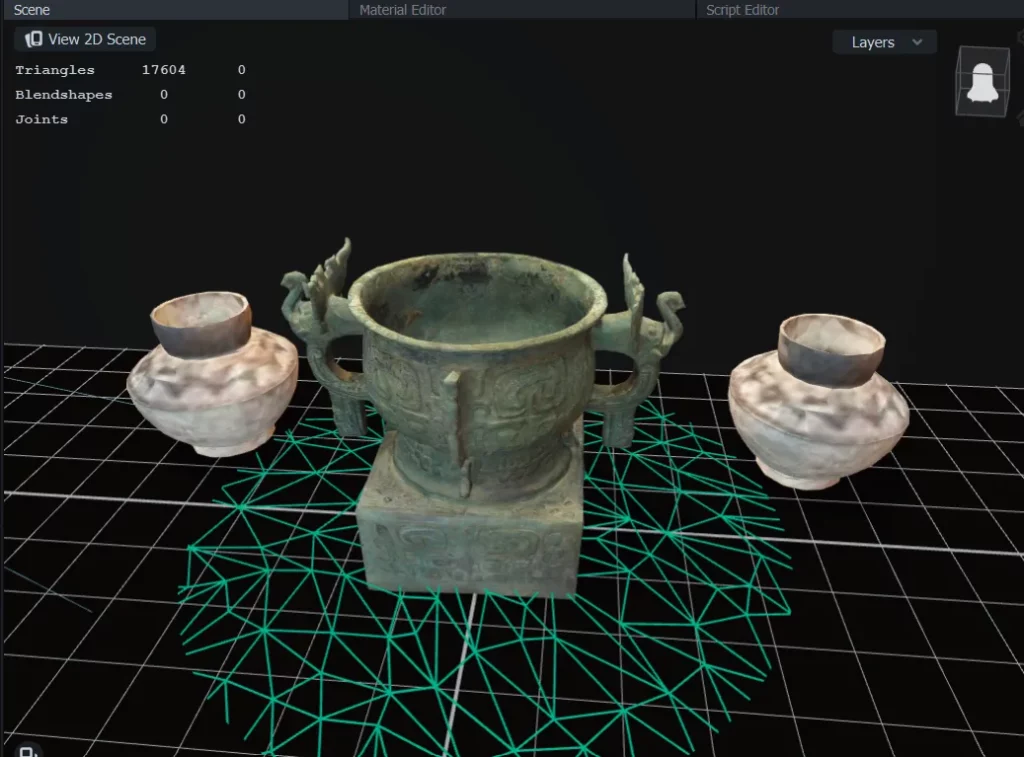
Two of the vases have been compressed to create space, but they don’t look as good as the middle one. Fortunately, the middle vase is the focal point for this lens anyway. Let’s do our lighting trick. We’ll remove the default lighting from the scene, add a low-intensity directional light coming from underneath the vases, and a point light positioned just above the front of the middle vase. Since the point lights don’t have adjustable falloff in Lens Studio, we need to put the outer vases on a separate layer, and adjust the point light so it only affects the original layer that the middle vase is in.
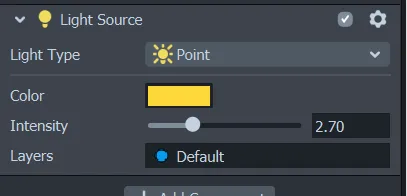
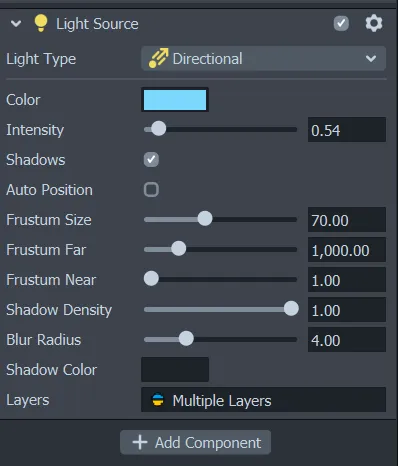
I also gave the lights different hues to give a complementary color scheme to the scene.
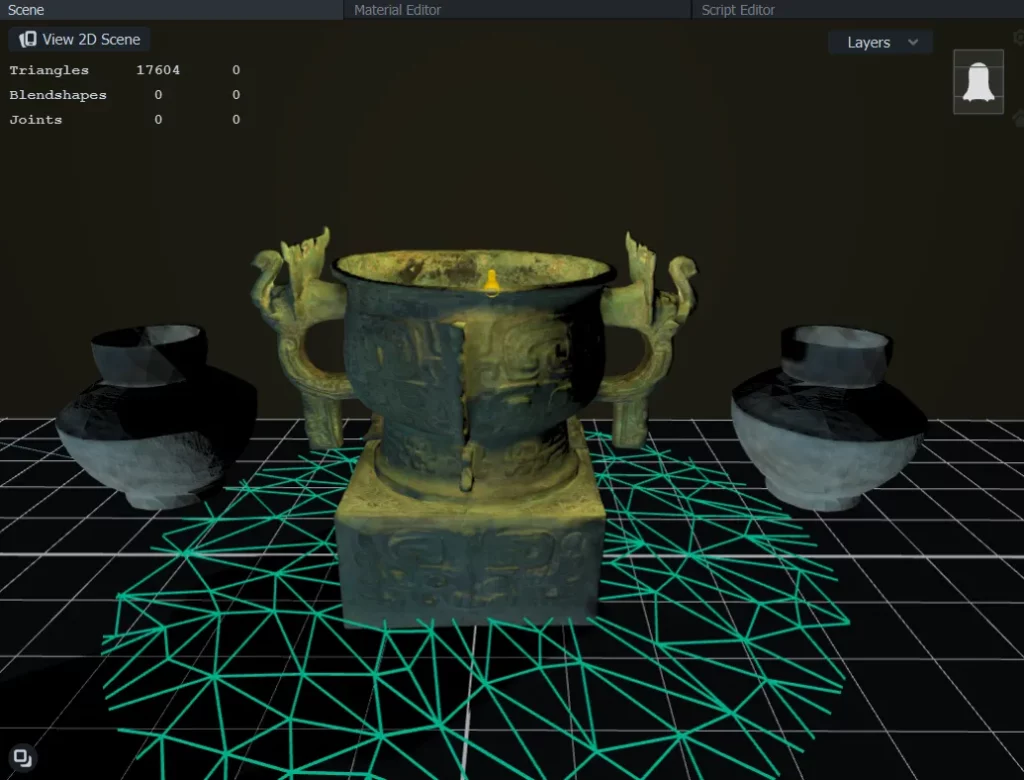
The vase in the middle is well-lit, and has a higher-quality texture. The vases surrounding it don’t have nearly as high a resolution, but since they aren’t lit as well it’s hard to notice. Not only this, but the variation in lighting creates visual interest in the scene, and draws attention to the most elaborate vase. What a great way to show off! If you want to learn more about lighting, I highly recommend the lighting tutorial series by Blender Guru.
The big (but still compressed and optimized) picture
In the end, although there are lots of tricks and hacks to keep things small, there is only so much you can do before the inevitable reduction in quality.
I find it’s always useful to make a “minimum viable product” version of a lens, that is, the lens that has the bare minimum needed to make it still work as I want it to, before going all out on making heaps of models/textures for it.
This way, I can get a sense of how much more I add before the quality or performance starts to decline.
Any time you create a lens, it helps to keep it as small as possible, even if it’s already under the 4mb limit. This helps it to download faster, and your end users will use less data.
As the number of features in Lens Studio grows and grows, keeping all the elements in your lens becomes harder. It’s easy to just say “compress textures, decimate 3D models” but thinking about which assets can be compressed more and which need to remain higher quality is a trickier art.
The more lenses you make, the more you will develop a sixth sense for this. So keep on creating, and remember to optimize your process as well as your assets!

Comments 0 Responses