
Overview: SnapML in Lens Studio
In 2015, Snapchat, the incredibly popular social content platform, added Lenses to their mobile app —augmented reality (AR) filters that give you big strange teeth, turn your face into an alpaca, or trigger digital brand-based experiences.
In addition to AR, the other core underlying technology in Lenses is mobile machine learning — neural networks running on-device that do things like create a precise map of your face or separate an image/video’s background from its foreground.
With the release of Lens Studio 3.x (current version is 3.2 at the time of writing), the Lens Studio team introduced SnapML, a framework that facilitates a connection between custom machine learning models and Lens Studio.
There are currently a number of really impressive pre-built templates available in Lens Studio’s official template library. But to truly unlock the expansive potential for things like custom object tracking, improved scene understanding, and deeper immersion between the physical and digital world, creators need to be able to build custom models.
And that’s where there remains an undeniable limiting factor: ML is really hard.
The expertise and skill sets required for ML project lifecycles are quite unique and are often mismatched with creators, designers, and others developing Snapchat Lenses. This gap represents a significant barrier to entry for many creators and creative agencies, who generally don’t have the resources (time, skills/expertise, or tools) to invest in model building pipelines.
Fritz AI for SnapML
We’re trying to bridge this gap at Fritz AI. Our development platform’s new support for SnapML allows AR creators to build completely custom ML models without code and export them directly as Lens Studio template projects.
In this tutorial, we’ll use Fritz AI to build a custom style transfer model, which we’ll then integrate in a Snapchat Lens with SnapML in Lens Studio.
Put simply, style transfer is a computer vision technique that allows us to recompose the content of an image in the style of another. If you’ve ever imagined what a photo might look like if it were painted by a famous artist, then style transfer is the computer vision technique that turns this into a reality.
Let’s get started. And as a reminder, no ML expertise needed!
Getting Started: Account and Project Creation
Creating an account with Fritz AI is free and easy—select “Type: Studio” and “Subscription: Sandbox” in the provided plan picker.
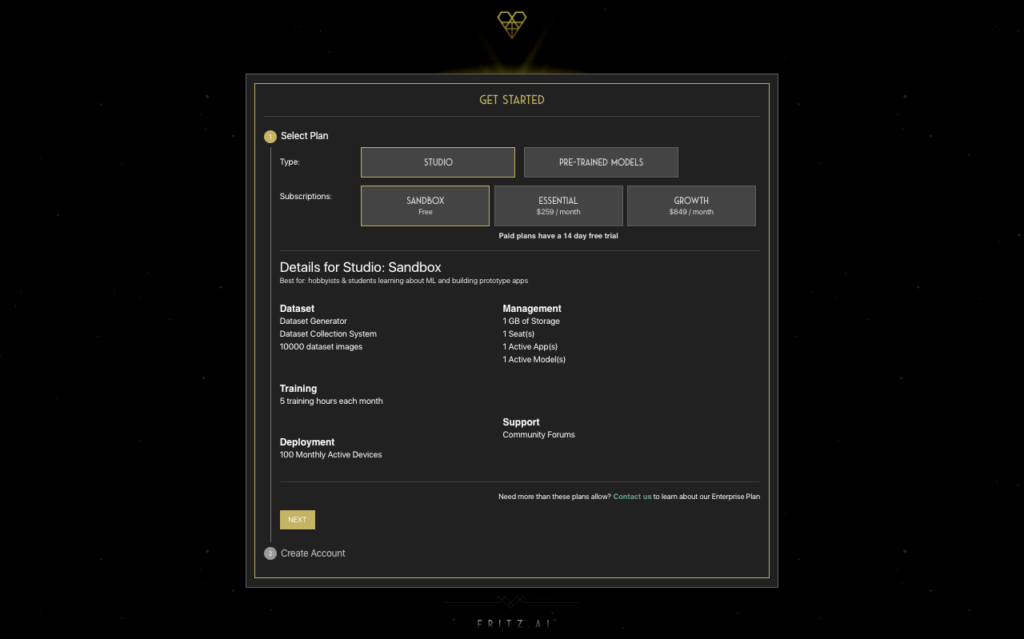
There are a number of details and limits involved with the Sandbox plan, but the only one we need to be aware of is the 5-hour model training limit. But no worries there—5 hours will be more than enough time to train our style transfer model.
Creating a New Project
For new Fritz AI users, you’ll be automatically prompted to create a project upon logging in for the first time.
Let’s quickly work through setting up a SnapML Style Transfer project.
- Name your project
- Specify the appropriate organization (if necessary — if you’re a new user, you’ll have your default organization selected)
- Select “SnapML” as the Project Type
- And ensure that “Style Transfer” is selected as the Model Type in step 2 and click “Get Started”
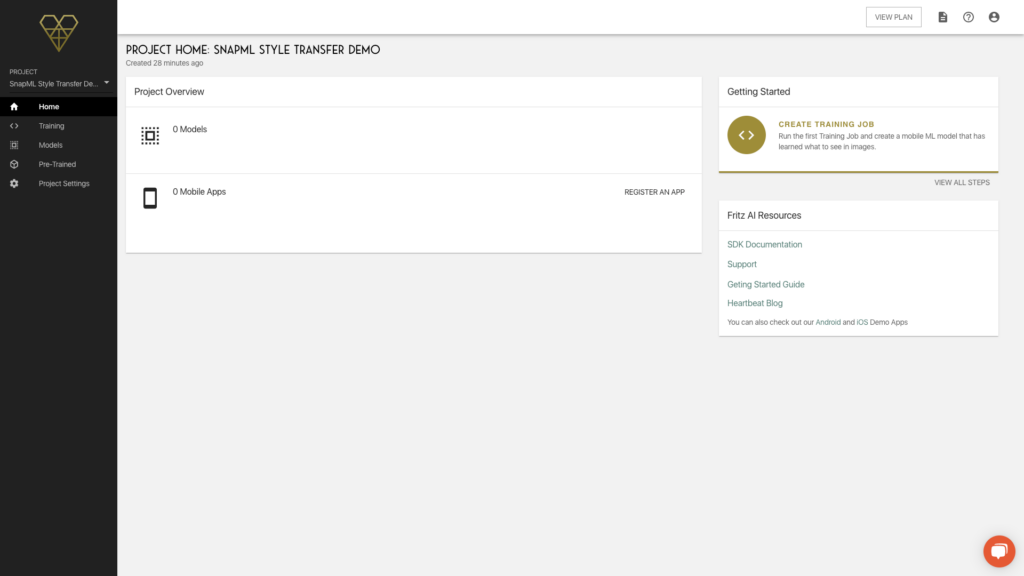
Upon creating a project, you’ll be taken to that project’s home screen, which should look like this:
Training Our Style Transfer Model
Unlike other kinds of machine learning models built inside Fritz AI Studio, style transfer models don’t require a dataset of labeled images. Fritz AI can make that process easier, too—for object detection, segmentation, and image labeling tasks—but with style transfer, we merely need one image that will serve as our model’s training data source.
This single image is known as a style reference image—it’s the image whose visual patterns our model will learn during training, with the end goal of applying those visual patterns to input images and video frames (i.e. transfer the style of one image to the content of another). And for a Snapchat Lens, the goal is to style the world around us through the Snap camera.
I found the following style image on Unsplash, which is an excellent free-to-use, high-res image database:

One thing to note here is that style images are automatically resized to 320×320. As such, not all style images are equal. For the best results, pick images that:
- Have large geometric patterns on the scale of 10% — 33% of the image’s width
- Have bold, contrasting color palettes
- Have strong edges
Actually training a style transfer model in Fritz AI Studio is as simple as:
- Naming our model
- Uploading our style image
- Setting a few optional model parameters
- Confirming and training—no code at all.
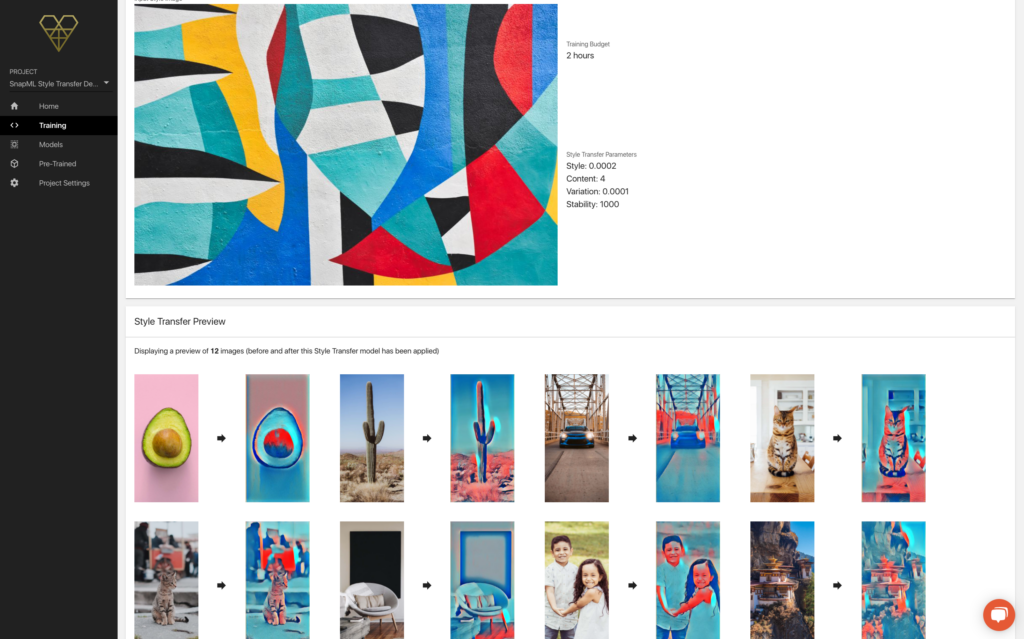
And that’s it! After confirming, we’re taken to a job confirmation page that provides some key info about our model—all the parameters we’ve selected, key identifying information, and its training progress
I prefer a lighter touch when it comes to adding styles, so I opted for a slight adjustment to the Content parameter, which you can read more about, along with the other optional parameters, below.
Style Parameter
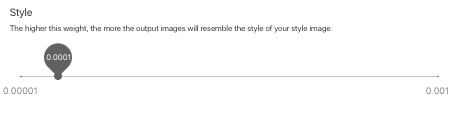
The Style parameter essentially determines how much style from the style reference image will be applied to the model’s output (i.e. pictures taken or videos recorded).
Be careful here—if the Style value is too high, your model might end up producing outputs that don’t retain enough of the input image’s content to remain discernible.
Content Parameter
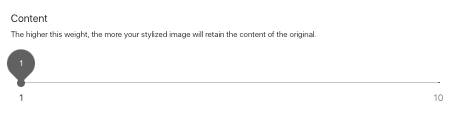
Alternatively, the Content parameter will determine how much content from the input image or video will be retained after our style transfer model processes it.
Variation Parameter

For style reference images that contain a lot of nuanced textures that you want to try to capture, the lower you’ll want to make the Variation value. For a more smooth output with styles that are more soft-edged, a higher value makes sense.
Video Stability Parameter
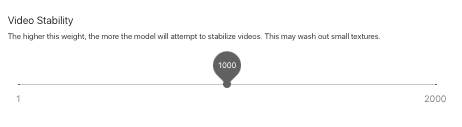
The video stabilization parameter also impacts the style’s effect on texture, and in this case with video, to help determine stabilization. Again here, a higher value will make video appear much more stable (less texture flickering, etc), but will also wash away more fine details. We suggest a value in the middle of this range to get started.
Exporting Our Model as a Lens Studio Project
After just a bit longer than 2 hours*, you’ll receive an email letting you know your model had finished training, with a link back into your project.
If you want to see a preview of your model’s output, head into the training job details screen (Training tab in the left hand menu):
Navigating to the “Models” tab on the left hand menu, find the desired model in your list, and download the Lens Studio Project (zip file), as shown below:
The downloaded zip file includes a few items, a couple of which are especially important.
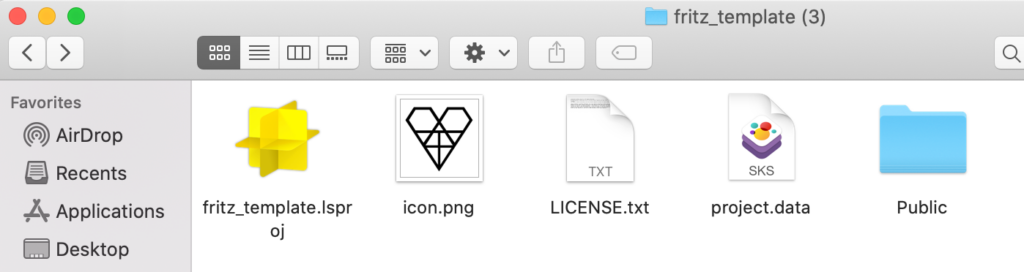
- Lens Studio Project file — this is the main file we’ll load into Lens Studio in a moment.
- Readme—in the “Public” subfolder is a readme to help with project configuration.
Rather than be redundant, to take us through implementing the model with an ML Component in Lens Studio, I’ll simply list these readme steps here.
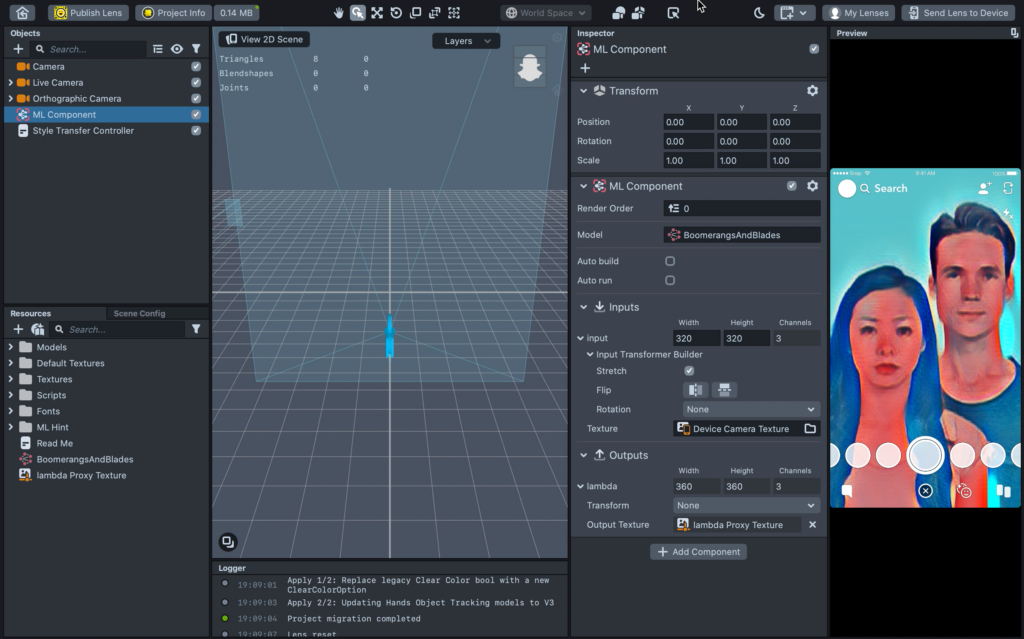
Lens Studio Project Upload and Configuration
1. Import your model. Upon opening the Lens Studio project file, you will be shown a “Model Import” dialog box. You do not need to change any of these settings. Just click “Import”.
2. Add your model to the ML Component. Select the “ML Component” object from the Objects list in the top left corner of Lens Studio. Then, in the Inspect on the right, change the value of Model from “None” to the model included in your project.
3. Set the model’s input texture. Again with the “ML Component” object selected, in the Inspector under the model’s Inputs change the value of “Texture” from None to “Default Textures/Device Camera Texture”. This will feed input from the camera to your model as input.
4. Create an output texture for your model by clicking the “Create Output Texture Button” on the ML Component.
5. (Optional) Change the input resolution to experiment with the look of different texture sizes. Note: the output size will be slightly larger than the input size. This is To accommodate cropping that eliminates edge artifacts produced by the model.
Below is a look at this process step-by-step:
Deploying, Testing, and Publishing the Lens
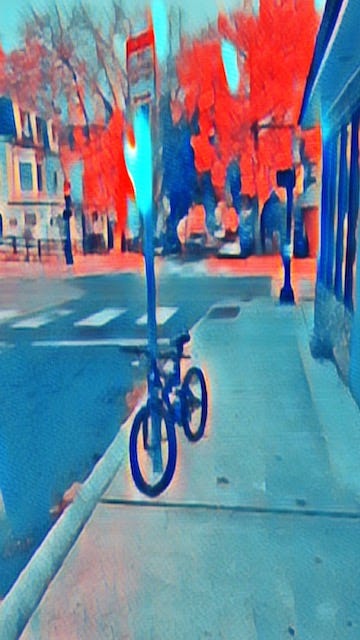
That’s all it took to build and integrate a custom style transfer machine learning model in Lens Studio. If you want to see your Lens in action, Snapchat makes it really easy to test and even publish your Lens.
For our purposes, I simply sent the Lens to my device (iPhone SE) to test it out.
What’s Next?
In the future, I’d like to experiment with different color palettes and style images with more hard edges, to add a bit of teeth to the way textures end up being styled.
Additionally, style transfer is only one model type available in Fritz AI Studio. We also support image labeling, object detection, and custom segmentation models.
Stay tuned for more from us in regards to SnapML: pre-built Lens templates, improved workflows in Fritz AI Studio, and more guides and tutorials in Heartbeat.
If you’re a Lens Creator who’s interested in experimenting with ML, let me know ([email protected])! I’d love to chat with your and learn more about what you’re working on.

Comments 0 Responses