
Hello seekers! In this post (part 2 of our short series — you can find part 1 here), I’ll explain how to implement an image segmentation model with code. This model will allow us to change the background of any image, just by using the API that we’ll build.
If you want to jump straight to the code, here’s a link to my GitHub repository, where I’ve uploaded all the code—and I’ll be explaining how to use that code here.
To achieve our result we first need to know a bit about creating virtual Python environments with conda. Taken from the website :
As explained above, conda is a package management system that’s used to easily handle different virtual environments.
In our task, we’re using two models: one is for image segmentation, and the other is for image matting. As such, we’ll make two different conda environments. Although we could combine them in one environment also, that tactic would make things more difficult to manage.
The image matting code is taken from this GitHub repository, which is the official implementation of the FBA_matting paper. They’ve also provided the model, which we’re going to use, as well.
The steps involved to get the desired output are explained below:
Step 1
Download and install conda, depending upon which OS you are running. I’m using Linux so some of the commands that I’ll be using might be for Linux distribution only. You can change them according to your requirements.
Step 2
Clone this repository. It contains the core implementation of all the steps we’re going to perform. Save it in your preferred location on your machine. Use the below command in terminal:
git clone https://github.com/harsh2912/Background-removal.git
Step 3
Now that we have our repository cloned and conda installed, next we have to setup up two environments for two different tasks. Creating an environment is not a heavy task, given that a requirements.yml file that contains all the packages that are needed for that environment. We can just run a simple command to do that.
Let’s assume you cloned the repository in the bg_removal folder. So open the terminal, and change the directory to bg_removal/Background-removal/API. Use:
Inside this API folder, there’s a requirements.yml file. We’ll use it to setup the environment by executing the following command:
where matting is the name of the environment you created.
After setting up this environment, you change the directory to Segmentation_API by executing cd Segmentation_API.
There is one more requirements.yml file here, which will be used for creating a segmentation environment using the following command:
where segmentation is the name of your second environment (for segmentation).
Step 4
Download the model weights for the image matting model, and put that file in the models directory. You can download the weights here.
Step 5
Now that we’ve created two environments, we have to run two servers on two different ports. One server will be taking the image from the user (i.e you), and the other server will be used for the intermediate steps. I’ll explain them in a moment.
Run two terminals. In one terminal, change the current working directory to bg_removal/Background-removal/API, and in the other terminal, change the current working directory to bg_removal/Background-removal/API/Segmentation_API. Remember that bg_removal is the directory where you cloned the repository.
In the first terminal, activate the conda environment matting by executing the following:
And similarly, in the second terminal, execute:
Now we’ve activated the two environments—we just have to run a server using these environments. There’s a package called Flask, which will do the work for us. We’ve already installed Flask in these environments, as it was present in the requirements.yml file. So after activating the environments, we just have to run:
for the matting environment and
for the segmentation environment. The port here represents the port on which machine the server is running. It can be any number except for the ones that are already used by the machine.
Remember the port number where you’re running the server because we’ll use this port number to make a request and get the output. As you can see, the segmentation server is running on port 3000, and the matting server is running on port 5000.
Before moving to the next steps, let me give you an overview about what each of these servers are doing internally, and what exactly the pipeline will be.
A brief insight in to the servers
The command flask run runs a file in the current directory named app.py and executes its contents. You can see that there’s an app.py file in the API/ directory, and one app.py file in Segmentation_API/ directory. So these flask run commands are executing their contents. Next, I’ll explain them both.
Matting Server
The model and code for the matting server is taken from the original FBA_Matting repository. I’ve made some modifications on top of it so that it can be used in a way suitable for this tutorial.
First, I’m building the model, which is an image matting model, and the weights we downloaded earlier are loaded into the model. As you can see in the app.py file, the payload containing images from the API request is taken and sent to the server running on port 3000 (i.e. our segmentation server) to get a response.
The response received is a trimap (as I explained in my previous article) with 2 channels—one for the foreground and one for the background. Next, I’ll explain how the segmentation server is generating that trimap, but for now let’s assume we got the trimap somehow, and we have the original image from the API request.
These two things are what the matting model needs. Hence, we’ll feed this into the model by first putting it into testing mode (model.eval()). The output we’ll receive is fg, bg, and alpha.
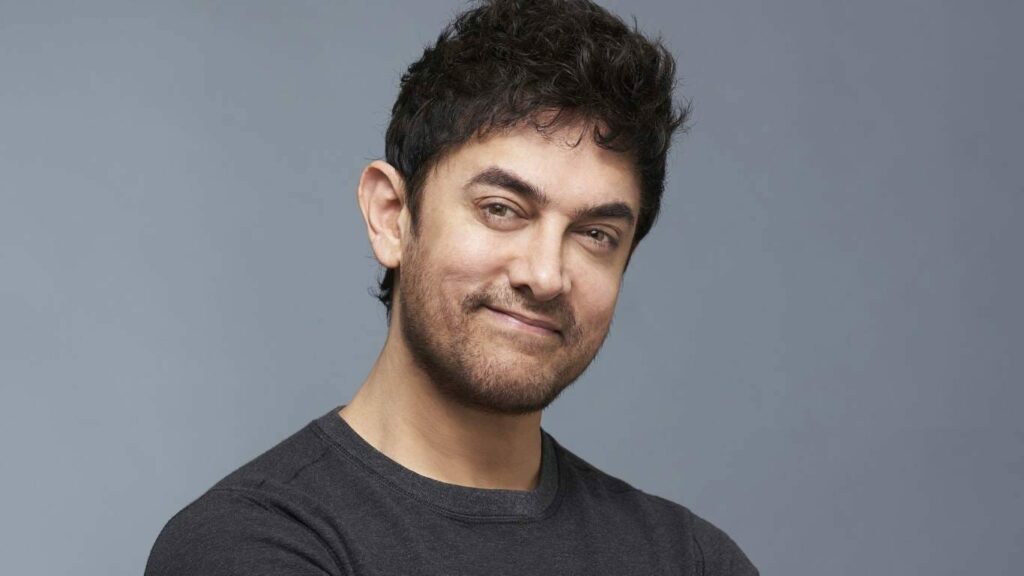
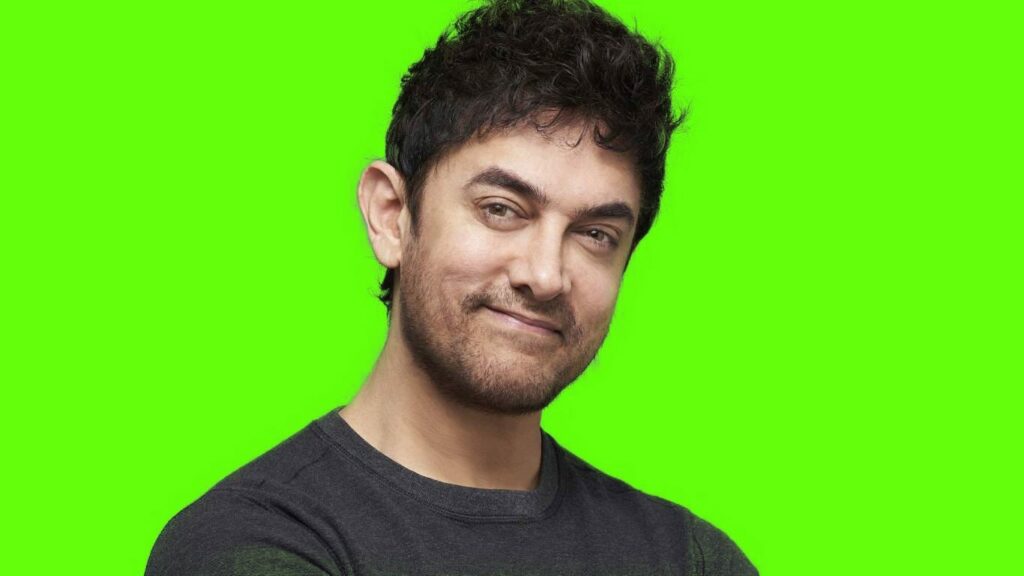
Now when we return the response, we just multiply the alpha map with the actual image, and (1-alpha) with a green background that’s there in the folder, so that only foreground pixels will be there from the original image, and background pixels will become green.
This way, you can see the output clearly. I’ll use this technique to change the background and make a cool video in the end of this article. So stay tuned.
Segmentation Server
This server is responsible of generating the trimap. In the app.py file inside the Segmentation_API folder, you can see that I’m importing from segmentation.py. Using the file, we’ll first create a Mask RCNN model with the parameter pretrained = True so that it will load the already-trained model.
Then, after evaluating an image, we take the output only for those predictions which have a confidence threshold of at least 0.6. That means the model is at least that confident (i.e. 60%) that the output it’s predicting is the correct one.
Also, note that I’m specifying a class label equal to 1 because mask RCNN gives many classes like table, chair, person etc—and out of these, we’re only interested in taking the mask prediction that belongs to the person class (class 1).
Now all the masks that are labeled as person will be in the list. Those masks will be include the probability that each pixel value will be belong to the particular person.
So we’ll take those pixels that have a probability at least equal to 0.9 and labeling them as the foreground area because we’re sure that those pixels definitely belong to the person, and the pixels that are greater than 0.1 and less than 0.9 will be labeled as ambiguous area—any other pixels will be background. You will notice that the ambiguous pixels lie close to the border of the person.
After labeling pixels as foreground, ambiguous, and background there’s one more essential step we can take to enhance the model performance. Specifically, we can dilate the ambiguous region and erode the foreground region.
So essentially, we increase the ambiguous region, which will help us include minor details of the person by using the image matting model. The model will look at the background and foreground pixels and accordingly label the ambiguous pixels to decide if it belongs to foreground or background. The reason for erosion and dilation is to counter segmentation mislabelling, if there is any, by the model.
After implementing erosion and dilation, we make the trimap by selecting the eroded area as foreground and the area outside where we dilated as the background. This trimap is then fed to the model.
The generated trimap with original image is then sent to the matting server, which returns the final output.
Step 6
Now that we have both servers up and running, and we also know what’s happening inside the servers, we’ll use an image and test it out. For that, I’ve provided a Python script that takes image_path and output_path as arguments and loads the image from image_path on your local machine and saves the output image at output_path.
The Python script is saved with the name inference.py in the root folder. Just run the following command to get the output:

After running this command by including the appropriate paths, you’ll get the output saved at the output path.
Congratulations! You just used deep learning to remove an image’s background with a fine level of detail.
Cool Trick — Segmenting Video
Now one additional thing that is just a bit cooler than what we’ve done already…we’ll be changing the background in a video! To do this, I’ll be using a video from the popular show Friends and will make its cast an important part of the film Avengers to help them fight against the mighty Thanos.
There is one more Python script in the root folder, which is named as frienvengers.ipynb (I couldn’t come up with a better name). Using this file, we’ll be performing our task.
Here, we need to use two videos. One is for extracting the cast of Friends and the second one will be for making the background. We’ll process frame-by-frame for both the videos.
For each frame of the Friends episode, we’ll send it to the server so that we will get all the characters segmented out, and correspondingly we’ll take each frame from one scene of the Avengers movie, which will act as a background. We can add both the outputs in the same way we did above.
So for each frame, we’ll get an output where the characters from the Friends series will be in the Avengers’ scene.
Now each output frame can be merged together to form a video. This is done using Python’s OpenCV library, which in this case helps us stitch consecutive frames together to make a video.
There are two video outputs that are saved. One is generated using PyTorch’s official implementation of Mask RCNN, and the other one is generated using Facebook’s Detectron. The difference between the two is that the PyTorch implementation provides the mask with probability values; hence, we can adjust the ambiguous area accordingly.
But in case of Detectron, the mask provided is the binary mask of either the pixel belonging to the person or not. Although the predictions of the model are a bit better than the PyTorch implementation, but there’s a problem in the mask.
For example, the space between legs are mostly labeled as the pixel of a person, which should ideally be labeled as background. However, with a few tweaks, we can get the probability values from the Detectron model also. But for the purposes of this tutorial, we’ll keep things a bit simpler.
You can see the difference between the two by looking at the outputs inside the Videos/ directory. To use the Detectron model, you just have to un-comment the third line and comment out the second so that the model is imported from detectron_seg.py instead of the PyTorch model. The rest of the API is the same.
We can further improve the results by using higher quality video and by changing the hyperparameter to best fit the video (i.e. erosion, dilation, etc.).
All of this is coded in the iPython Notebook. Most of the code is already discussed above. You can use this code to combine any two videos you want. It is simply fun! Happy changing!
See you all again in my next cool article!
References
- FBA Matting paper : https://arxiv.org/abs/2003.07932
- Original FBA_matting github repo : https://github.com/MarcoForte/FBA_Matting
- My GitHub repo : https://github.com/harsh2912/Background–removal

Comments 0 Responses