
In Facebook’s Spark AR Studio we can use 2D textures to create animations.
We can either:
- Add textures, turn them into an animation handling an Animation Sequence, and then add the animation to an object.
- Use the quick import and optimization process and Spark AR will automatically add your textures to an Animation Sequence and cast them to a plane object. We have to use the quick method to import GIFs.
Note: While importing a GIF we must ensure that it doesn’t contain any real or realistic images of people whether real or fictional or the effect won’t be accepted for publishing.
So which textures can we import? We can import:
- A range of individual texture files for creating a sequence.
- Sprite sheets.
- Texture atlases.
- Animated GIFs.
A texture atlas will produce the most efficient and usually the best quality effect. Sequences will create the least efficient.
We can use TexturePacker to produce sprite sheets and texture atlases.
Preparing for Textures
Naming Textures
While importing a series of texture files, we must name them accordingly before importing them. For example: name.frameNumber.fileExtension.
JSON Data for Sprite Sheets
JSON data is attached to the project if the JSON files are in the same folder as the textures we are importing. Contrarily, we can attach it manually by editing the texture’s properties in Spark AR Studio.
Importing the Textures or GIFs
The quickest way to import, optimize, and combine a texture sequence or an animated GIF is to use the process below.
To import textures or GIFs:
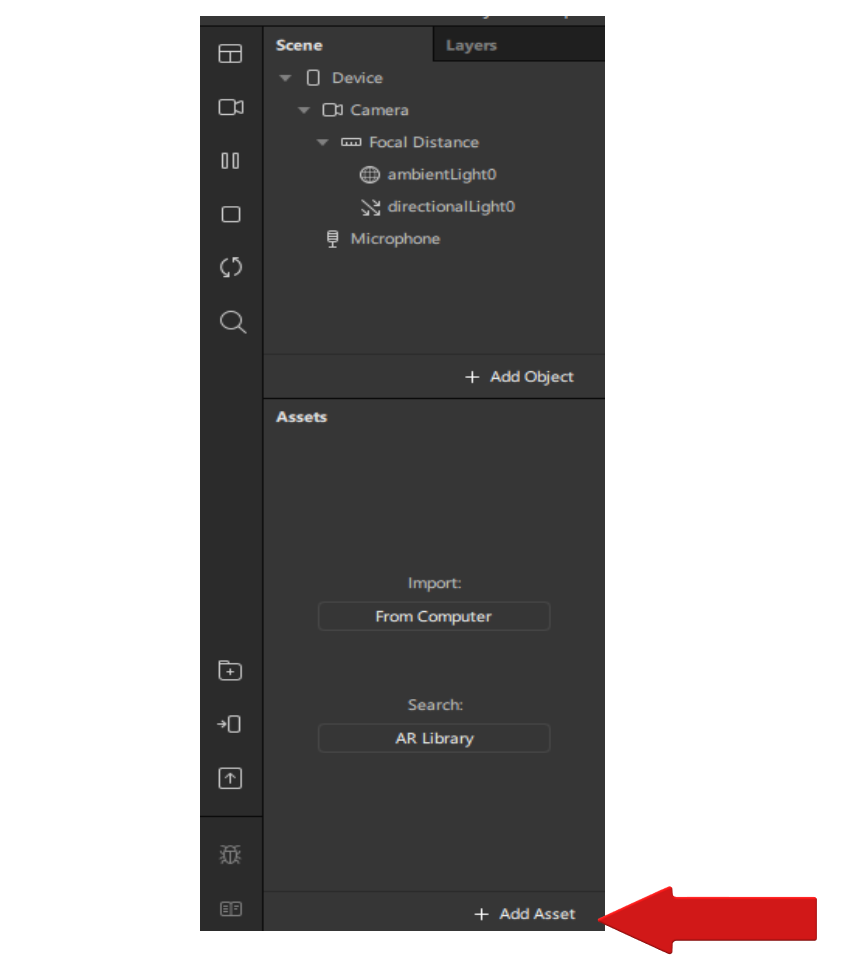
- Click the Add Asset button at the bottom of the Assets panel.
2. Select the Import option and then select Import From Computer.
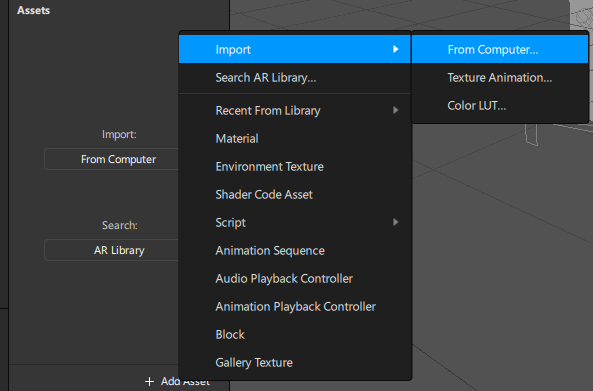
3. Choose the textures or GIF you want to import.
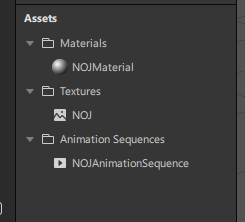
Once we have added them to the project the textures will get listed in the Assets panel under Textures.
We will also need to make a couple of changes to the textures.
Changing a Range of Textures into a Texture Sequence
To change a range into a single asset called a Texture Sequence:
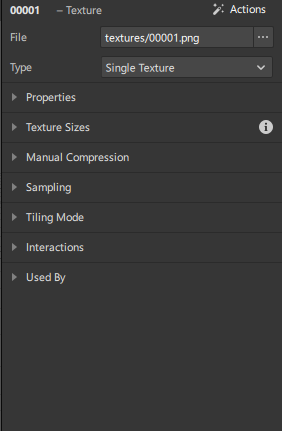
- In the Assets panel, select the textures option.
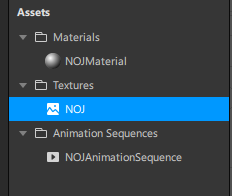
2. Go to the Inspector Panel.
3. Here, change the Type to Texture Sequence.
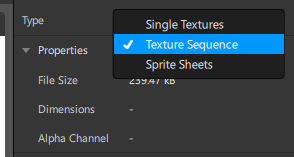
The textures will instantly be grouped as one asset.
Attaching JSON Data to Sprite Sheets
To attach JSON data to sprite sheets:
- In the Assets panel, select the texture option.

2. In the Inspector Panel, go to Sprite Sheet.
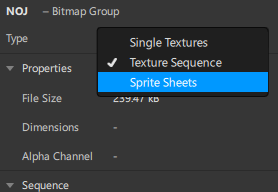
3. Here, change the Config to Grid. Make sure to add the correct number of rows and columns.
Adding Textures to an Animation Sequence
We will start by creating the animation sequence:
- Select the Add Asset button, then the Animation Sequence option.
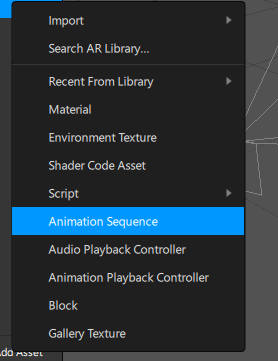
2. In the Inspector Panel, click the dropdown under texture and pick the texture animation you want to add.

Adding Animations to an Object
The steps to use the animation sequence on a material are similar to any other texture:
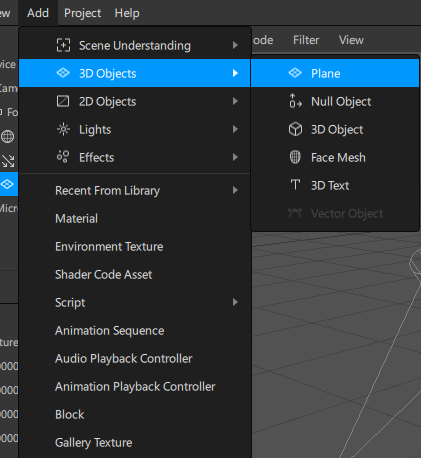
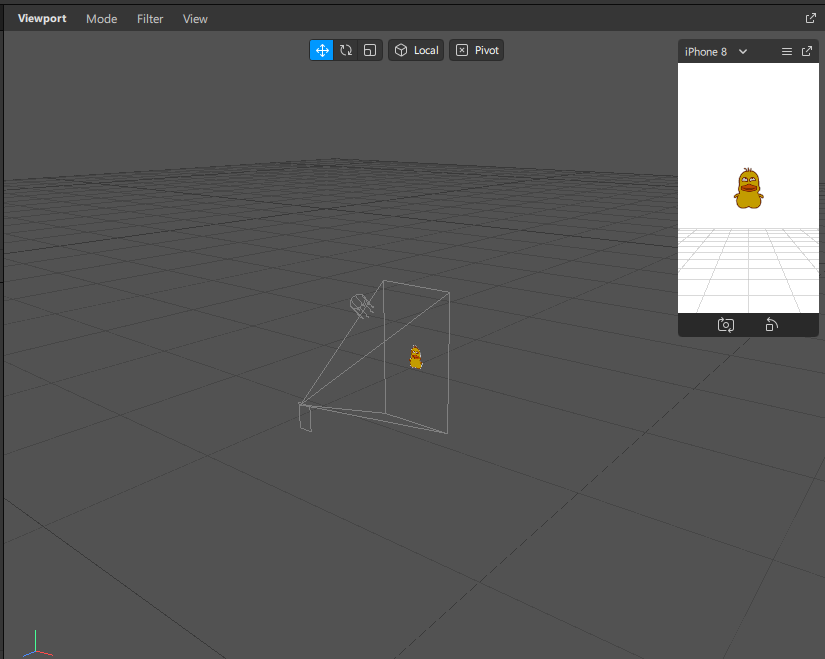
- Add any object to your scene, for example, a plane or particle system or anything of your choice.
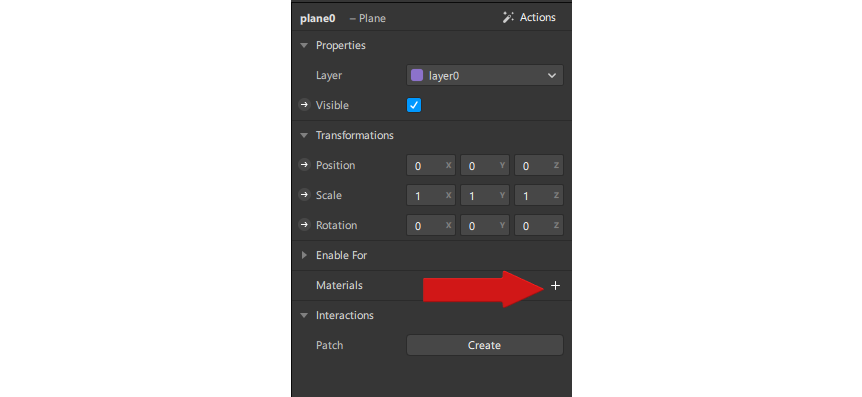
2. Create a material for the object you added.
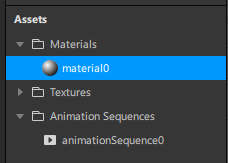
3. Now, select the material in the Asset panel.
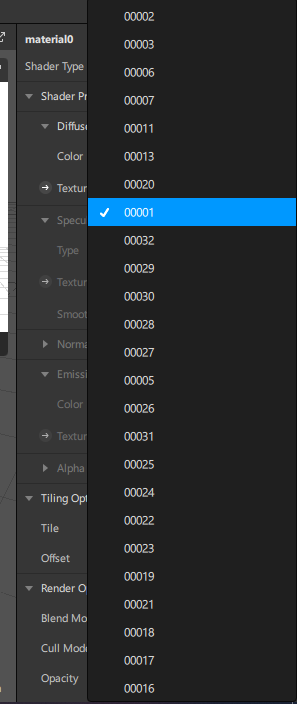
4. In the Inspector Panel, click the dropdown arrow under Diffuse, to the right of Texture, and select the animation sequence.
The animation will start playing:
To change how it behaves, we can edit its properties in the Inspector.
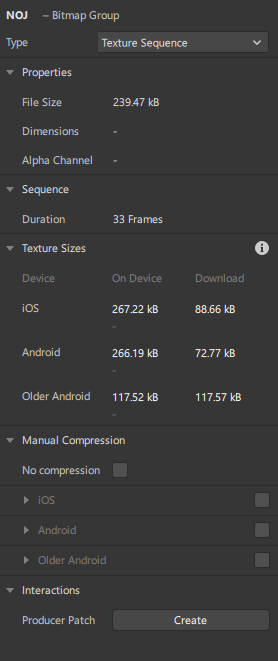
Properties
Let’s now discuss all the properties and their usages.
Animation Sequences
Texture Property
The textures we have applied to the animation.
Duration Property
How many frames are in the sequence — we can’t edit this.
FPS Property
It stands for frames per second. We can adjust it to either speed up or slow down the animation.
Loop Property
If we check this box to loop, the animation will continue while the effect is being used.
Randomize Property
If we check this box, it will start the animations randomly after the effect has been opened.
Current Frame Property
It creates a patch to represent this frame. Then, we can connect this to other patches to create an effect with logic or interactivity.
Interactions Property
It creates a series of patches to add interactivity to our project.
Used By Property
It uses the object to which the animation is applied.
Sprites sheets
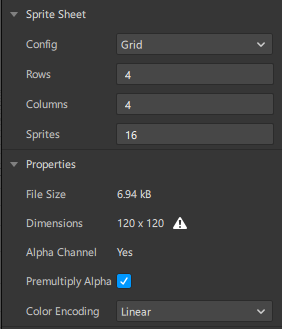
File, File Size, and Dimensions
It gives the file, file size, and dimensions of the texture.
Alpha Channel Property
It shows whether the texture has an alpha channel or not.
Premultiply Property
If we check this box, it integrates transparency information.
Color Encoding Property
Through this, we can choose whether colors are interpreted as Linear or RGB.
Disable Compression Property
It disables compression on this texture.
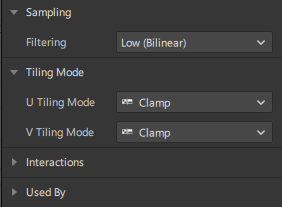
Sampling Property
We can edit the Filtering options to correct errors in textures.
Tiling Mode Property
We can use U Tiling mode to repeat, clamp, or mirror image contents along its horizontal axis.
We can use V Tiling Mode to repeat, clamp, or mirror image contents along the vertical axis of the screen.
Sprite Sheet Property
We can edit the option next to Config to select either:
- JSON — if sprite sheet imported with a JSON file.
- Grid — to manually give the number of Rows, Columns, and Sprites.
Interactions Property
It creates a patch to represent the sprite sheet in the Patch editor.
Used By Property
It uses any materials using the sprite sheet.
Texture sequences
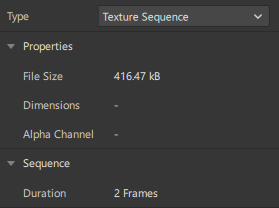
Sequence Property
It shows the number of frames in the sequence.
Closing Points
Well, that’s all for this article. We have covered the step-by-step process to add a 2D texture animation in our lens in Spark AR Studio.
I hope you liked the article. Stay tuned for more upcoming exciting articles.

Comments 0 Responses